Snowmen Rice Krispie Treats
This post may contain affiliate links. If you make a purchase through links on our site, we may earn a commission. As an Amazon Associate, I earn from qualifying purchases.
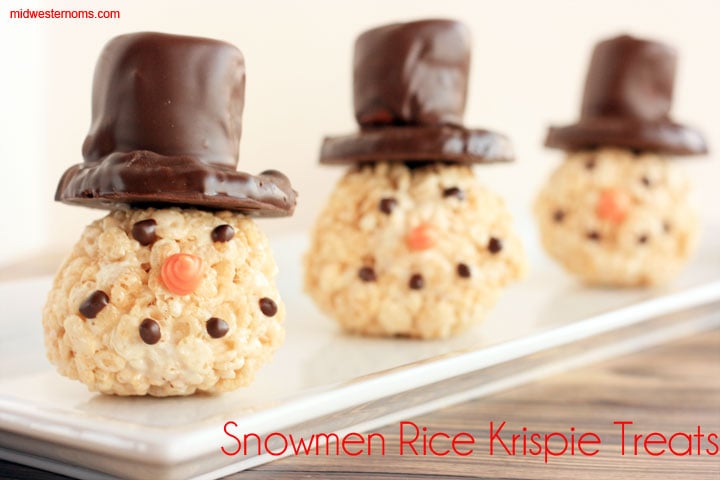
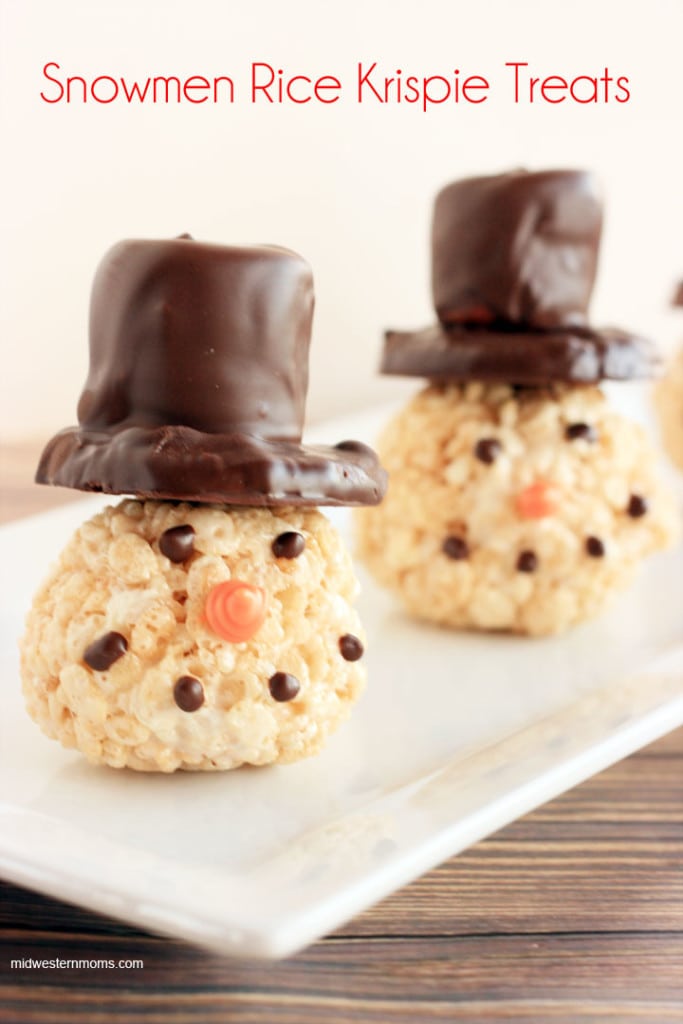
Turn rice krispie treats into a fun creation for winter! These cute little Snowmen Rice Krispie Treats are topped up with a delicious top hat!
Monday, I told my son that I was going to make some Snowmen Rice Krispie treats. He was so excited!
I got to looking for all my stuff and realized I didn’t have orange candy melts (apparently I used them all when I made my Halloween Cake Pops). The stores near me didn’t have it either! So, I had to order them online and got them shipped here pretty quickly.
When the candy melts got here, my son wanted to help out. So we counted out how many cups of Rice Krispie Cereal we needed and put them in a big bowl to set aside.
Then I started to melt the butter and then add the marshmallow and other ingredients to the pot, and he decided he was done helping. He had a LEGO house to build.
How to make Snowmen Rice Krispie Treats
After making the rice krispie treats, it is time to form the snowmen.
Before I got started, I got out my round shortbread cookies so I could compare the sizes when forming the heads.
I also did this very important step: Sprayed a bit of non-stick cooking spray on my hands. This allowed me to work with the Rick Krispie Treats without getting stuck to them.
Roll the treats into balls to form the snowman’s head.
After forming the heads, it is time to make the hats.
Dip the round shortbread cookies into the dark chocolate melting wafers.
Next, cover the large marshmallows in the dark chocolate and add them to the top of the cookies.
To attach the hats to the snowmen’s heads, I put a dab of dark chocolate on the top of the heads and put the hats on top. When the chocolate cools, it holds the hats on.
The nose was a bit of work. The noses you see are actually the second noses the snowmen got.
I originally just had a dot like the eyes and mouth. So, I added more candy melts and made a swirl.
The previous nose actually helped to support the new nose. I think it actually looks more like a carrot now.

Snowmen Rice Krispie Treats Recipe
I was able to make about 14 snowmen with this recipe. The amount will vary depending on how big you make your snowmen.

Ingredients
Snowmen Heads (Rice Krispie Treats)
- 3 tbs butter
- 1 tsp pure vanilla
- 16 oz mini marshmallows
- 6 cups Rice Krispie Cereal
Hats
- Round Shortbread Cookies
- Large Marshmallows
- Dark Chocolate Melting Wafers
Facial Features for Snowmen
- Dark Chocolate Melting Wafers
- Orange Candy Melts
Instructions
Snowmen Heads (Rice Krispie Treats)
- In a large pot, melt the butter.
- Add the vanilla and bag of mini marshmallows. Stir constantly until the marshmallows are melted.
- Stir in the Rice Krispie Cereal.
- Spray a bit of non-stick cooking spray on your hands and form the treats into round balls.
Hats
- Melt the dark chocolate melting wafers according to the directions.
- Dip the top of the cookies into the chocolate and place on wax paper to cool.
- Cover the large marshmallows with the chocolate and add to the top of the cookies to complete the hats.
- Allow to cool before adding to the snowmen heads.
Snowmen Faces
- Use the remaining chocolate from the hats or melt more if needed. Put it in a ziploc bag and cut a small hole in one corner.
- Pipe dots on the snowmen heads for coal eyes and mouth.
- Melt the orange candy melts according to the directions.
- Put the candy melts into a ziploc bag and cut a small hole in the corner.
- Pipe a dot onto the head for the nose.
- After cooling, pipe a swirl over the dot to make a carrot type nose.
Adding the hats to the Snowmen
- Pipe a bit of chocolate to the top of the snowmen heads.
- Place the hat on top. You may need to hold in place for a bit to allow the chocolate to cool enough to hold it in place.


So cute!
Not sure if I would want to eat them…they are so cute :) Have a great week ahead!
Shantana
These are sooo cute! You’ve given great instructions that are easy to follow. I have to make these. Thanks for sharing on Tips & Tricks and make sure you come back next week!
Very cute idea. Thank you for sharing.