Shrinky Dinks Wine Charm Tutorial
This post may contain affiliate links. If you make a purchase through links on our site, we may earn a commission. As an Amazon Associate, I earn from qualifying purchases.
As an adult, I will admit that I am always excited to find an excuse to pull out my Shrinky Dinks and play with them. I love how you can draw something and then make it tiny by simply putting it in the oven.

This post contains affiliate links. As an Amazon Associate, I earn from qualifying purchases.
I was inspired, or rather “Pinspired” to make a craft for fall using Shrinky Dinks. After looking at all of the Shrinky Dinks photos, I knew I had to make something fun for the blog. I love how simple these turned out and think they will be a perfect addition to any autumn party!
Supplies
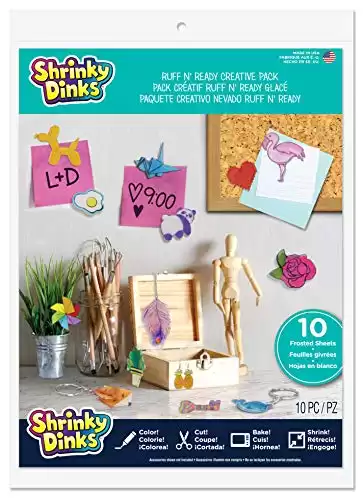
- Shrinky Dinks – Frosted, 1 Sheet
- Colored Pencils
- Scissors
- Hole Punch
- Parchment Paper
- Jump Ring
- Wire Hoop
- Pliers
Instructions
Step 1: Find a template or design that you want to draw onto your shrinky dinks. I often cheat and find a royalty free image online and print them out to trace. Coloring pages also make great templates.
Step 2: Trace the design on the sheet, using the rough side. You can use a permanent pen or colored pencils to trace the design onto the frosted, rough side of the sheet.
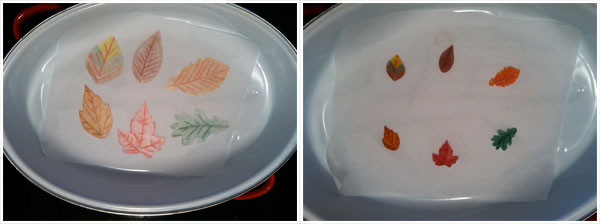
Step 3: Color in your design with colored pencils. Be sure to color lightly, as you cook the plastic, it will turn darker when it shrinks.
Step 4: Cut out your charms.
Step 5: Using a small hole punch, punch your hole before you shrink the plastic. I use my Crop-A-Dile Eyelet Setter to punch smaller holes than what a standard hole punch does.
Step 6: Place parchment paper into an oven safe baking dish.
Step 7: Preheat your oven to 325 degrees.
Step 8: Place your shrinky dinks in the oven for 3 minutes. By then, they should have flat edges. If they don’t, leave in just a bit longer and the edges will flatten out.

Step 9: Let cool before you touch.
Step 10: Using your pliers, open your jump ring, place the charm on the jump ring and close back with your pliers.
Step 11: Slide the jump ring onto the wire hoop, wrap around your wine glass and close with pliers.
