Corner Bookmark Tutorial
This post may contain affiliate links. If you make a purchase through links on our site, we may earn a commission. As an Amazon Associate, I earn from qualifying purchases.
Remember me telling you about my love for Pinterest? Yes, now I’ve started seeing crafts that inspire me that I absolutely must make! This week I found a tutorial for some super cute corner bookmarks that I needed to make. I had some left over scrapbook paper and put my own spin on it. I will show you the steps that I took below, however you might want to visit my inspiration in the link above, because she made some cute ones that would be awesome for new readers!
Materials
- Cardstock Paper
- Scissors
- Ruler
- Adhesive
- Embellishments
Instructions
Step 1: Create a template. Using your ruler, measure and cut out a square 2 1/2 inches by 2 1/2 inches. Trace around this square 3 times on a piece or hard cardstock (or cardboard as I used for my template). On the side squares, draw a line down the middle of them as shown in the photo below. I apologize for the poor quality of photo, and I forgot to take a picture before I cut out the template, so I put it back on and decided I would show you that way.
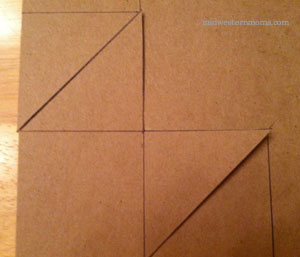
Step 2: Cut the template out so that you have the piece below.

Step 3: Place the template on cardstock of your choice and trace. I used double-sided cardstock. This allowed me to have a nice decoration on the back of the bookmark without the additional work. I love shortcuts!
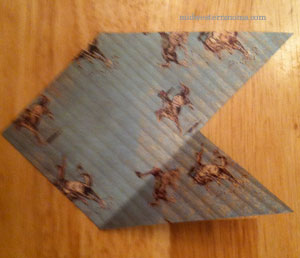
In the photo I show how I’ve already started to fold one flap over for the next step.
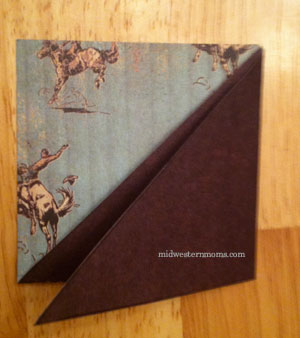
Step 4: Fold the bottom flap up where it touches the side. Please see image for a better description.
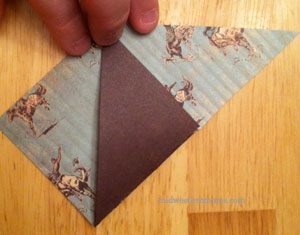
Step 5: Apply adhesive to the other flap and fold it over, making a triangle like the image below. This is the base bookmark. Use embellishments to dress it up from here. I used a cardstock border and some sticker tabs in coordinating papers.
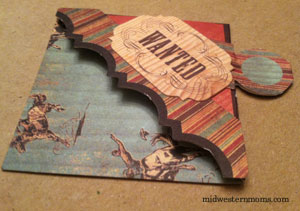
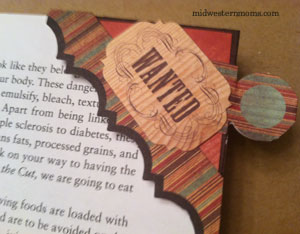
Here are the photos of my finished corner bookmark in a book. It turned out so cute! This would make a perfect gift! I chose western themed paper and embellishments, but you could also create a gift with paper based upon what type of books the recipient likes to read.
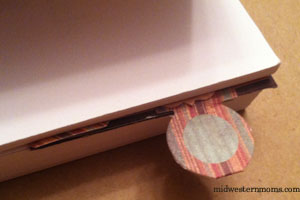
Here is an image of it from the side. I added the tab so that I could easily find my place.
I hope that you enjoyed this craft! If you create one, be sure to come back and share ideas with us of how you chose to decorate yours!
Neat idea, THANKS for sharing and reminding me about pininterst. I really need to get there and check it out.
Michele
Wow–I hadn’t seen those before! Thanks for sharing the tutorial, these are great!
Love that! Thanks for posting!
Such a great idea. Perfect for back to school, too. Would love to have you link this up to my {wow me} wednesday link up party going on right now over on my blog. :)
Ginger
Love this bookmark! The tab on the side makes it so easy to open to your page. Colleen
Cute! Now that’s a different one compared to most rectangular shaped ordinary bookmarks.