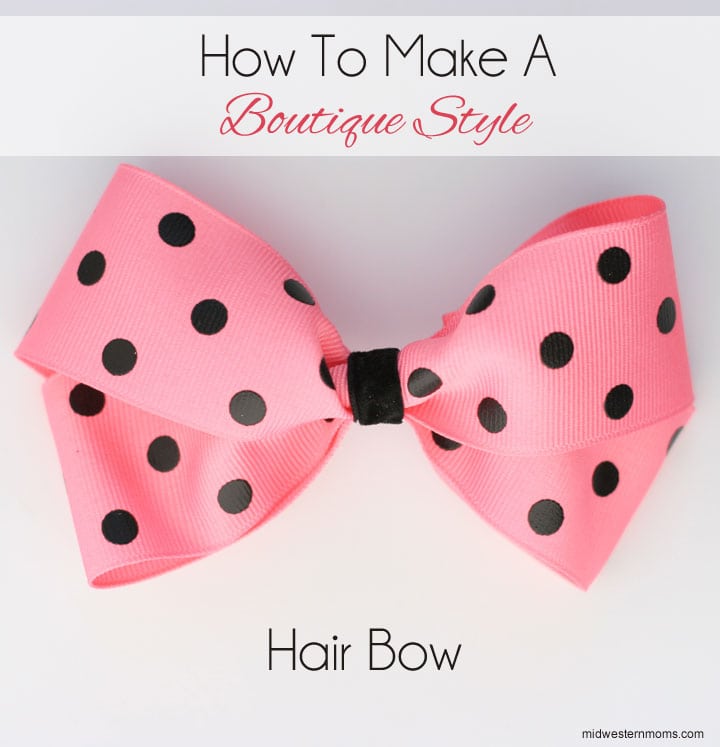
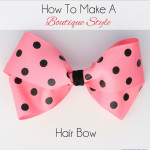
How to Make a Boutique Style Hair Bows
This post may contain affiliate links. If you make a purchase through links on our site, we may earn a commission. As an Amazon Associate, I earn from qualifying purchases.
When I first found out I was having a little girl, I immediately knew that there was going to be a lot of “pink” in our future.
I kept seeing these gorgeous hair bows for sale, however, none of them seemed to match my daughter’s wardrobe, so I set out to make my own.
This tutorial is a super easy, no-sew technique to create boutique style hair bows in the comfort of your own home in about 15 minutes.
Need more Hair Bow Tutorials? Check these DIY Boutique Style Hair Bow Tutorials.
How to Make a Boutique Style Hair Bow
WHAT YOU WILL NEED:
- Ribbon, 1 1/2 inch wide, 22 inches long
- Ribbon, 1/2 inch wide, 1 1/2 long
- Lighter or Fray Check to seal ribbon ends
- Large salon clip
- Glue
- Scissors
- Thread or embroidery floss, any color
DIRECTIONS
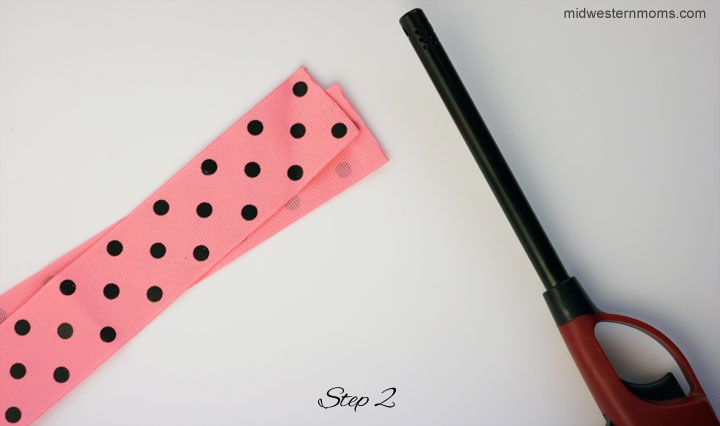
Step 1: Fold the long piece of ribbon in half.

Step 2: Using a lighter, heat seal the ends of the ribbon so that they don’t fray.
To do you this, simply activate the flame and swipe over the ribbon ends quickly.
As an alternative to heat sealing, you can also use a product called Fray Check to seal the ends.
Please use caution with either of these methods around children.
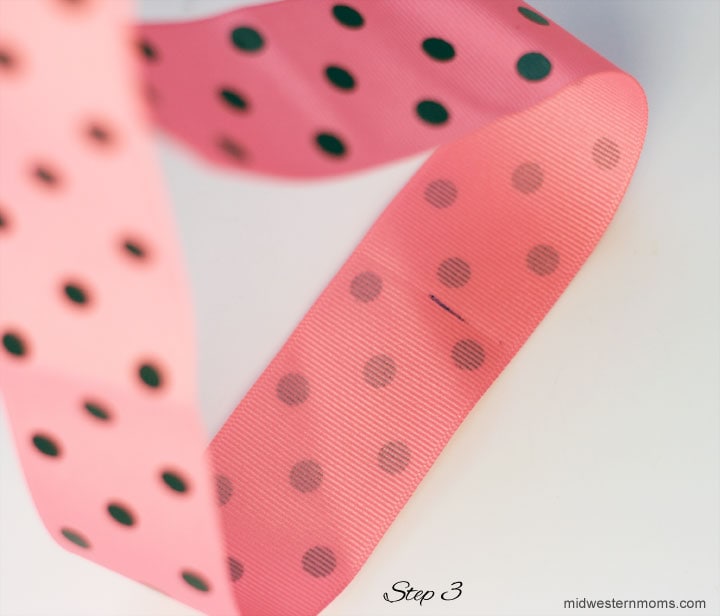
Step 3: Using a pen or pencil, mark the center of your long ribbon.
Don’t worry, this mark won’t show when you are finished.
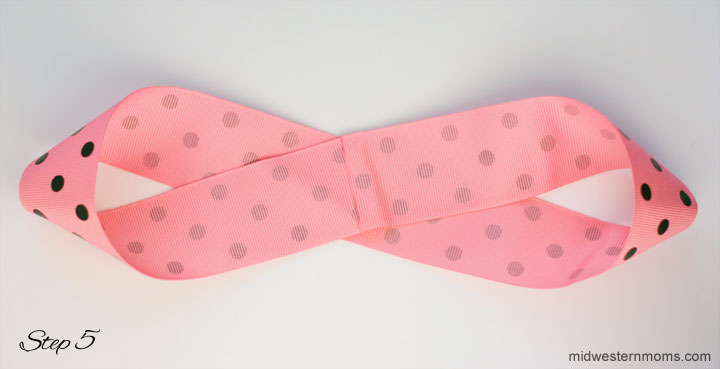
Step 4: Holding the top portion of your ribbon, loop it around like you are creating an awareness ribbon and hold the end in the center.

Step 5: Do the same for the other side so that the ends meet in the center.
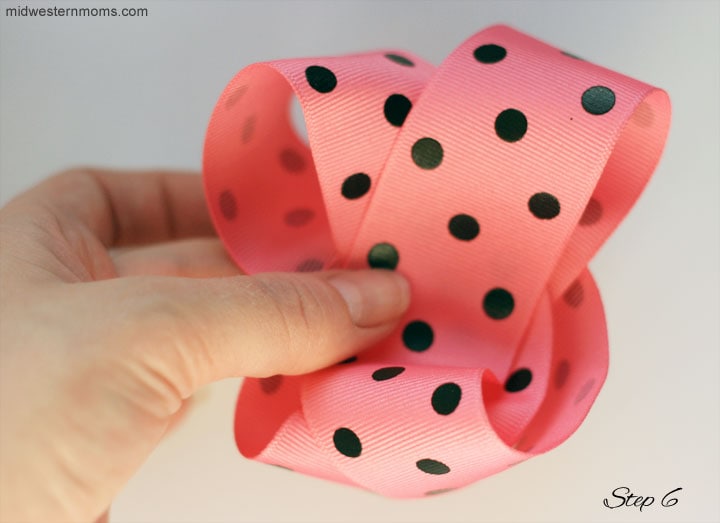
Step 6: Taking the top of the ribbon, fold both ends to the center, overlapping them, and hold with your fingers.
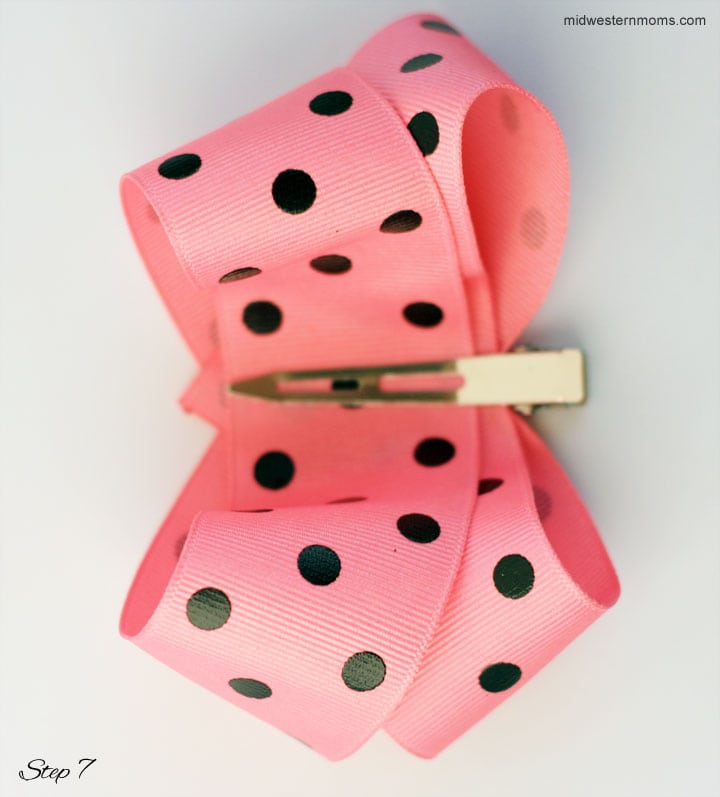
Step 7: Slide a large salon clip down the center to hold the bow.
Adjust the bow loops so that they are even.
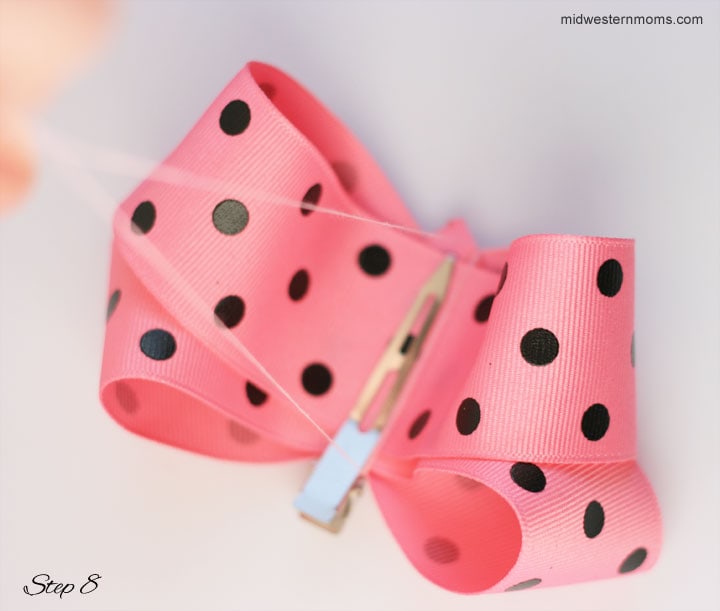
Step 8: Using your embroidery floss, wrap around the bow in the front and back and then slowly pull together to secure the bow.
I looped around several times and tied knots to hold the bow because I was not a fan of getting out the sewing machine, or a needle and thread, just for this project.
Cut the excess ends off the thread.
Step 9: Get out the smaller ribbon and run your glue down the back of it.

Step 10: Wrap the ribbon around the center of the bow as tight as you can and hold the end of the ribbon down for a while allowing the glue to dry.
Congratulations, you just made a boutique style hair bow!
Add it to a headband, or a clip, to accessorize your child’s hair.
Very cute! I need to learn that!
What a cute project! My 4 year old will love this!
OK, you make this look too easy! I am thinking I CAN actually do it! :)
I have never tried and I have 2 girls that I LOVE to accessorize! Maybe I will give it a try one of these days!
We love to make hairbows too, my daughter has over 200 now!
new follower! I love making homemade bows for my girls too! :)
Your tute was the BEST I have used for making these types of bows. No joke!
I included it on a roundup of last-minute hairbows to make for Easter accessories–if you’re interested the post is here:
http://twogirlsbeingcrafty.blogspot.com/2011/04/linky-love-last-minute-hairbow-edition.html
Thanks for making it so easy! I’ve made a lot of hairbows but seriously have never made one that turned out as well as the one I made using your tutorial.
Thank you for sharing and including it in your roundup! I’m so glad that you found the tutorial easy and that you were happy with your results. Have a great weekend!
I’ve got quite a few tutorials on my blog for hair accessories! This is a great one. Thanks for sharing. :)
Since before I can remember I have always had a thing for hair bows. Could have to do with me and my grandma making them since i was a young one. I have carried this over and continue to make tutus and more girfts for infants. I found your site on Yahoo and thank you for it. I will come back on it in the near future.
What a special memory! I too crafted with my grandmother and will always cherish that time we had together. Hope to see you around soon!
!!!!!!!!!!!!!!!!!!!!!!!!!!!!!!!!!!!!!!!!!!!!!!!!!!!!!!!!!!!!!!!!!!!!!!!!!!!!!!!!!!!! im so happy that i found this !!!!!!!!!!!!!!!!!!!!!!!!!!!!!!!!!!!!!!!!!!!!!!!!!!!!!!!!!!!!!!!!!!!!!!!!!!!!!!!!!!!!!!!!!!!!!!!!!!!!!!!!!!!!!!!!!!!!!!!!!!!!!!!!!!!!!!!!!!!!!!!!!!!!!!!!!!!!!!!!!!!!!!!!!!!!!!!!!!!!
i love this now my baby has lots of cute bows cus of you!!!!!!
Yay! I love making bows, I should really do another tutorial one of these days :)
This was by far the easiest bow I have ever made. Come to think of it – the first bow. Easy instructions and I had all of the supplies at home. The tip to use the bic lighter to quickly burn the edges – worked like a charm! I can’t wait to give to my GRAND-daughter! Thank you so much for the pictures and easy directions.
Omgoodness… Soooo cool I am too excited, my mom made my bows when i was younge.r I’ve been wanting to do it for my little girl, mom hasn’t been able to show me tho. this tutorial really makes me feel like like I can go right out and MAKE MY BABY SOME BOWS!! Thanks
I love making bows for my daughter. They always turn out so cute! ;)
Lone your finished product! Is there anyway that you could provide me with addition details or photos of step 6. I am a bit unclear on how to proceed. Thanks!
Thank you so much. You just made making hair bows for my daughters Girl scout daisy/brownie troop so much easier.
Glad I was able to be helpful!
Oh this looks so so easy! I can make this for baby girl instead of buying them!