Mason Jar Centerpiece For Fall
This post may contain affiliate links. If you make a purchase through links on our site, we may earn a commission. As an Amazon Associate, I earn from qualifying purchases.
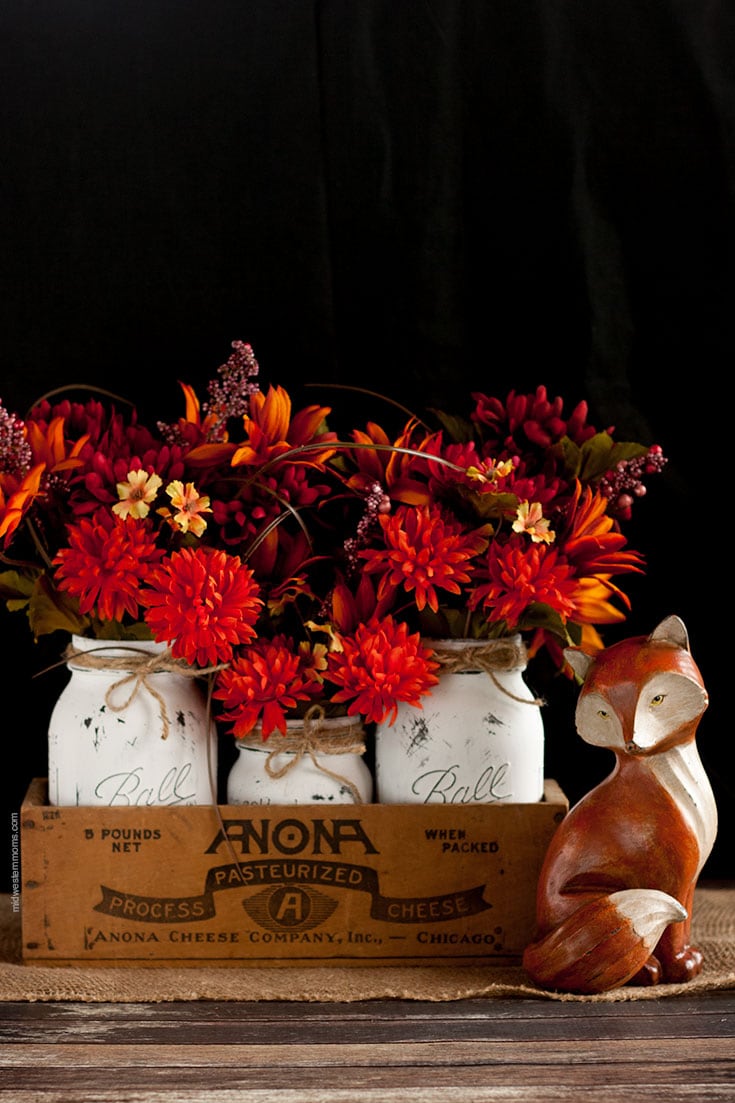
The perfect fall centerpiece using mason jars. I love how this turned out and it is easy to customize for different seasons and holidays.
This post contains affiliate links. As an Amazon Associate, I earn from qualifying purchases.
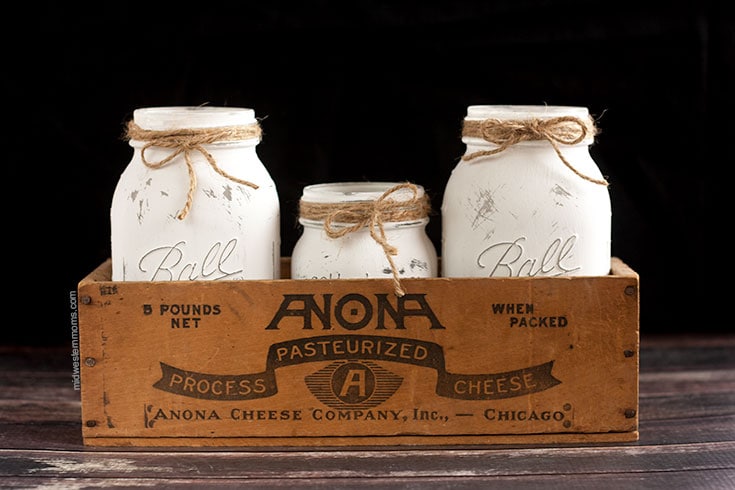
I have had that cheese box for about a year now. It was given to me and I finally figured out how I wanted to display it – with mason jars!
If you are looking for an old wooden cheese box, I would look at thrift stores or antique stores. Another option is to use a Mason Jar Wooden Box. I have seen them at Hobby Lobby as well.
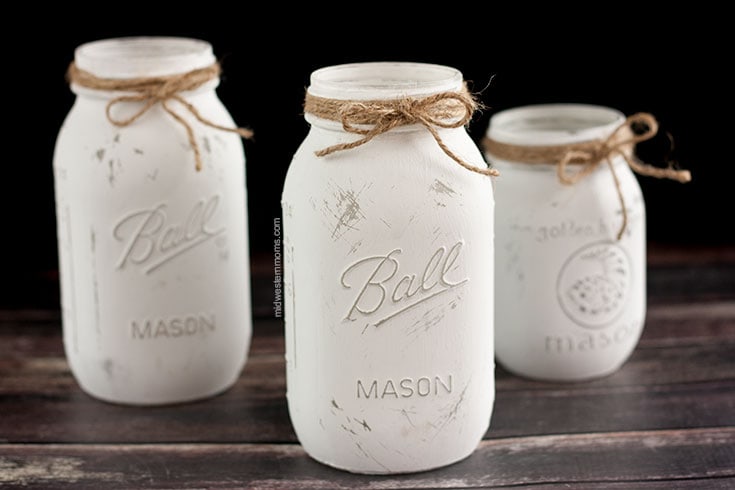
I used 2 different sized Mason Jars in this centerpiece. Since 3 of the large ones didn’t fit, I was able to just do 2 large ones with one smaller one in the middle. Depending on the box, judge what size jars you need.
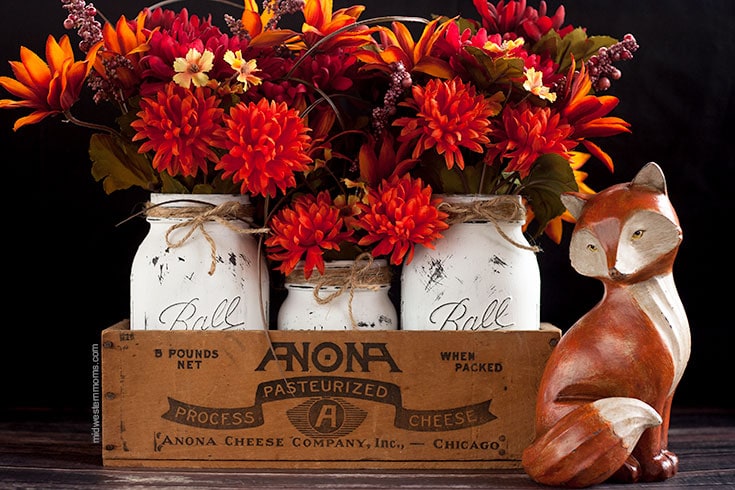
I also just had to use the cute little fox I got at Hobby Lobby. It looks perfect with this centerpiece.
The flowers I used are from Hobby Lobby as well. I found one large bunch of fall flowers for $20. It was plenty to fill the jars and I even had some left over!
Now for the instructions….
DIY Mason Jar Centerpiece for Fall
WHAT YOU WILL NEED:
- Wooden Cheese Box or a long skinny wooden box
- 2 Quart Mason Jars
- 1 Smaller Mason Jar
- Twine
- White Chalk Paint
- Rough Sand Paper
- Matte Non-Yellowing Top Coat Spray
- Flowers
INSTRUCTIONS:
Step 1: Make sure your Mason Jars are clean. I used rubbing alcohol on the outside to make sure. Just put a bit on a cotton ball and rub down the outside of the jars.
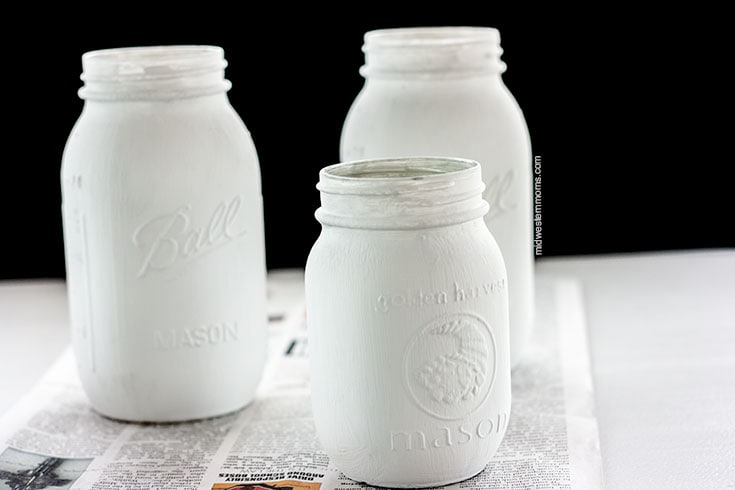
Step 2: Paint your Mason Jars with your white chalk paint. Don’t put it on too thick or you will be doing tons of sanding later. I applied 2 coats.
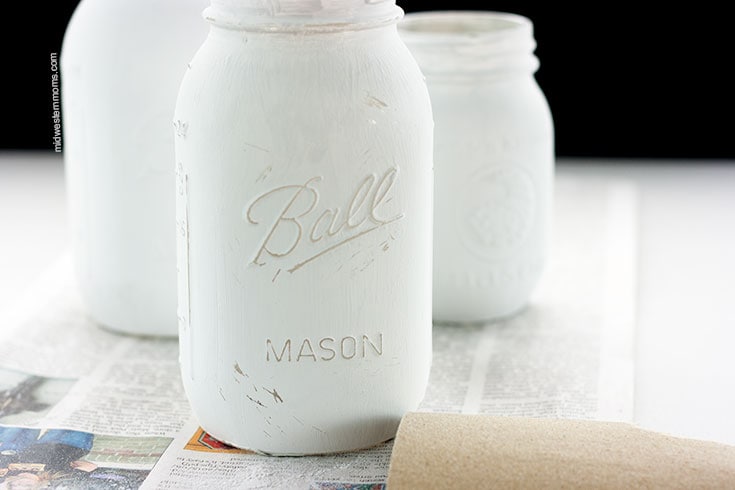
Step 3: After the paint has fully dried, take rough sandpaper and go over all the raised areas of the jar. I even took paint off around the jars where the glass bends.
I wanted them to look like they have been around for a while and scuffed up.
Step 4: Spray the Mason Jars with a matte non-yellowing top coat. This will keep the pain sealed.
Step 5: Wrap twine around the mouth of the jar and tie in a little bow.
Step 6: Place the jars into the wooden box.
Step 7: Snip all the flowers off the bunch. Place flowers into the jars and arrange nicely.
The centerpiece is complete!
This fall centerpiece was easy to make and it is easy to change it out when the seasons change or if you want to do something for the holidays.