How To Blanch Hazelnuts
This post may contain affiliate links. If you make a purchase through links on our site, we may earn a commission. As an Amazon Associate, I earn from qualifying purchases.
Come across a recipe that calls for blanched hazelnuts? Learn how to blanch hazelnuts (don’t worry, it’s easy) so you can make that delicious recipe.

What Is Blanching?
So what does blanch mean?
Blanching is a process in cooking that where food, in our case hazelnuts, is scalded with boiling water.
Then the food is removed after a specified time and plunged into ice water, halting the cooking process.
After this process, the food can either be frozen, dried, canned – or help make it easy to peel.
This is why we use the blanching process to make the hazelnuts easy to peel.
After the nuts have cooled completely, you can either toast them or freeze them in a sealed container for up to three months.
Why Blanch Hazelnuts?
Recipes will typically call for hazelnuts to be blanched.
The reason for this is because the skins of hazelnuts are bitter tasting.
However, removing hazelnut skins can be a pesky job. That is why we blanch Hazelnuts.
The blanching process helps to make the peeling process easy and allows us to remove every bit of the skin.
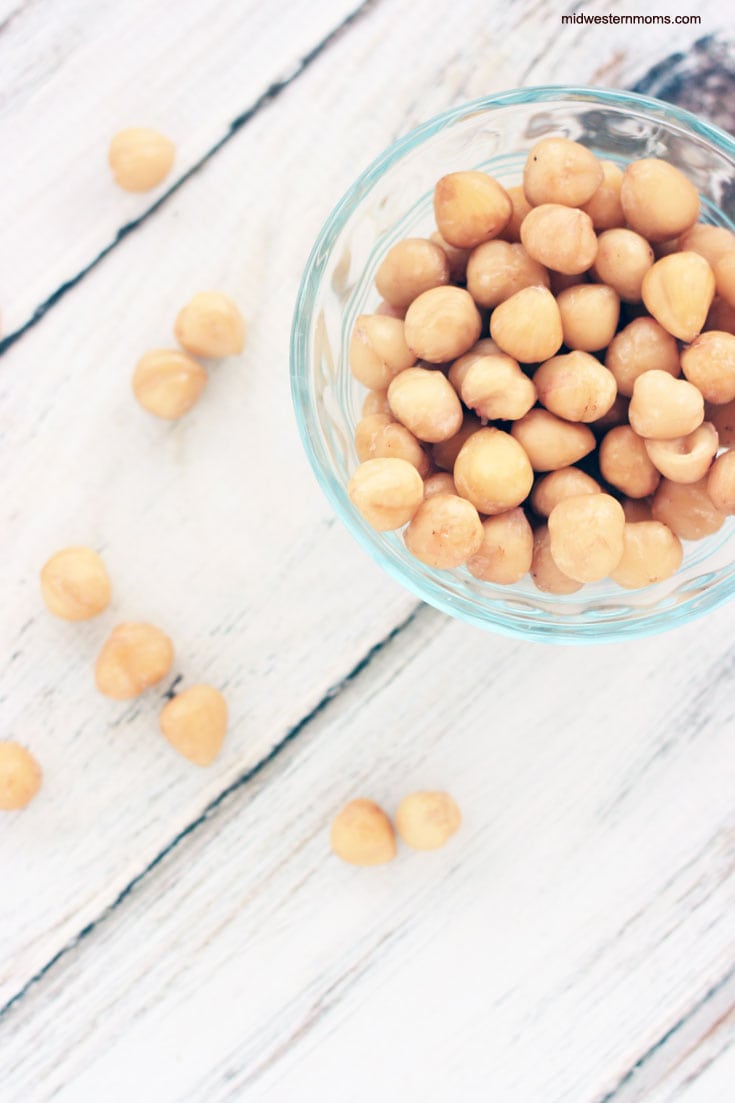
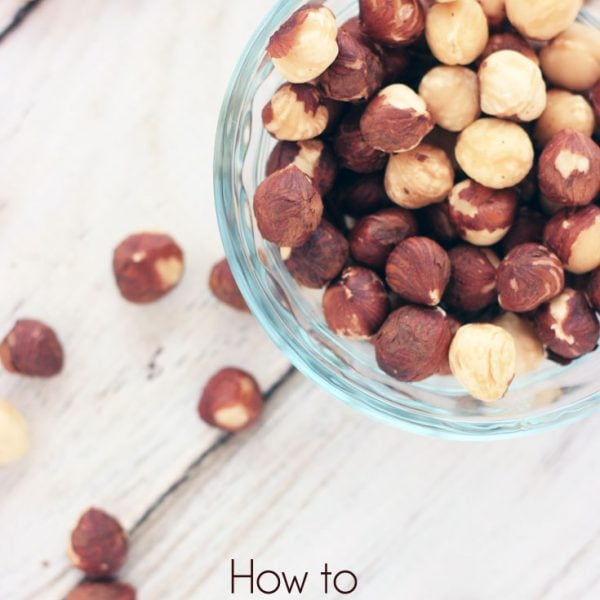
You can see how the hazelnuts look after going through the blanching process below.

Once you have blanched your hazelnuts, you should try out this delicious Spice Roasted Figs with Hazelnuts and Vanilla Ice Cream Recipe. It is delicious!

Ingredients
- 2 cups water
- 3 tablespoons baking soda
- 1 cup hazelnuts
- cold water
- ice
Instructions
- In a deep pot, boil your water.
- SLOWLY add in your baking soda. It will fizz up to watch out (hence the deep pot).
- Add in your hazelnuts and boil for about 3 minutes.
- Meanwhile, in a medium bowl, prepare some ice cold water (cold water with ice).
- After 3 minutes, dip out a hazelnut with a slotted spoon and immediately put it in the ice cold water.
- Using your fingers, try and remove the skins. If they easily come off, scoop out the rest of the hazelnuts and put into the ice cold water. If the skins are still tough to get off, then boil for another minute or two.
- Once the skins are removed, place them on a clean towel or paper towel to dry.

Wow! Great “recipe!” 1 cup of hazelnuts is the limit…Don’t try it with more. I wore some rubber glove when I did mine; helped my hands with the ice-cold water and provided extra friction to remove the skins more easily. I also ran water over the hazelnuts in a sieve before I added them to the boiling soda-water. That batch was the quickest and easiest to skin.
I used this recipe again . . . four more batches.
A trick I discovered (if you know a day or two ahead of time): Rinse the HAZELNUTS in a sieve, tap the sieve above the sink to shake off some of the water; leave the sieve of HAZELNUTS out a day or two and tap it occasionally (this loosens the skins) THEN use the recipe above. Half of the HAZELNUTS literally skinned themselves; the rest were so easy to slough off the skins that I spent about one tenth of the time skinning the HAZELNUTS than I’d done before!!
I wanted to share that if you use hazelnuts that were grown in the Midwest (most are grown in Oregon), you do not need to blanch them because the skins are not bitter or flakey. Midwest growers use a different variety of hazelnuts (it tastes the same or better to me) that uses native genetics, as opposed to the European hazelnut plants cultivated in Oregon.