Handwriting Sugar Cookies Recipe
This post may contain affiliate links. If you make a purchase through links on our site, we may earn a commission. As an Amazon Associate, I earn from qualifying purchases.
Handwriting Sugar Cookies is perfect for back-to-school!
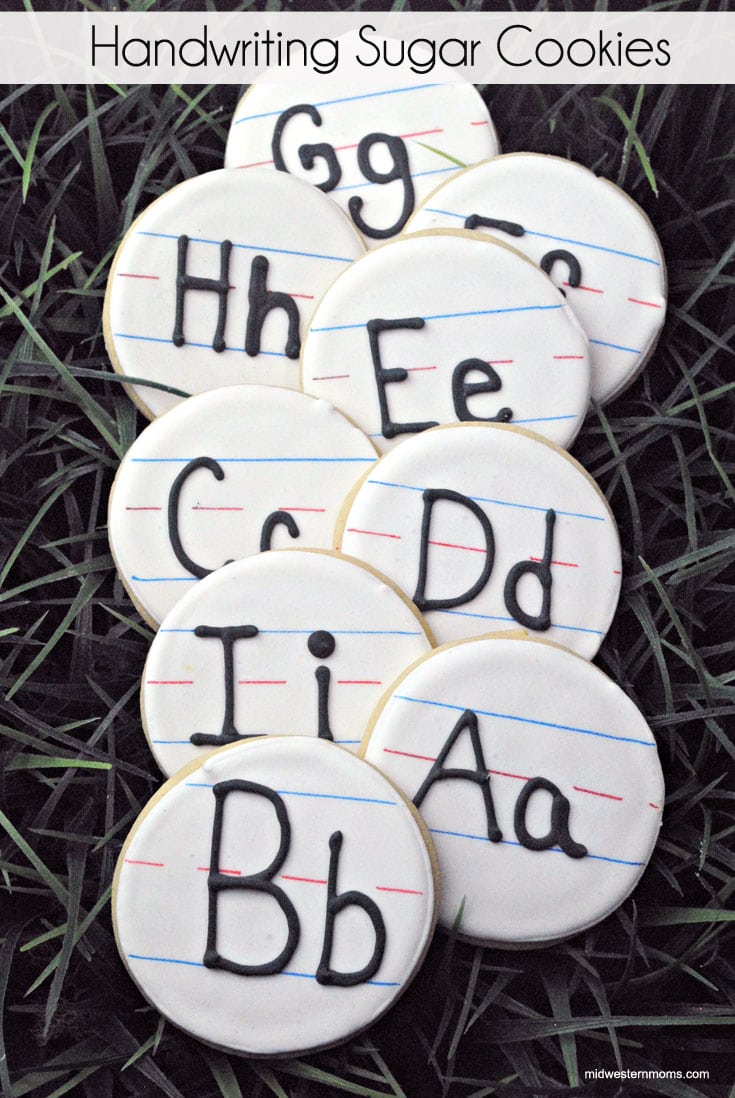
School is going to be starting soon! I can’t believe it!
My oldest son will start Kindergarten this year. I am not sure if I am ready for him to go or not. Guess I will have to be, right?
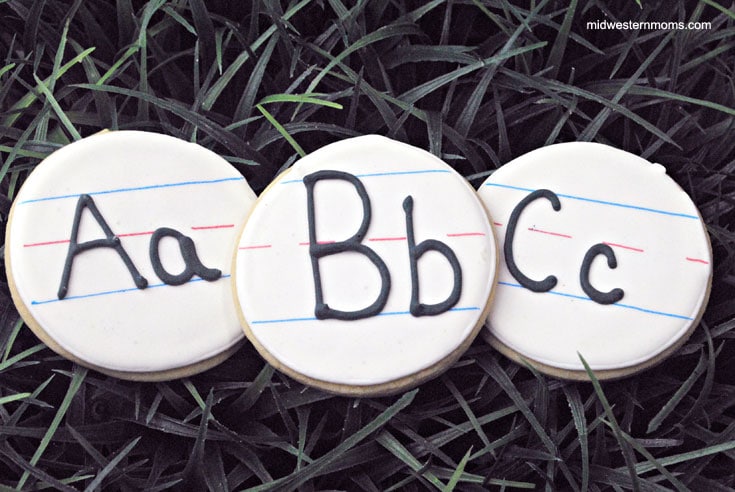
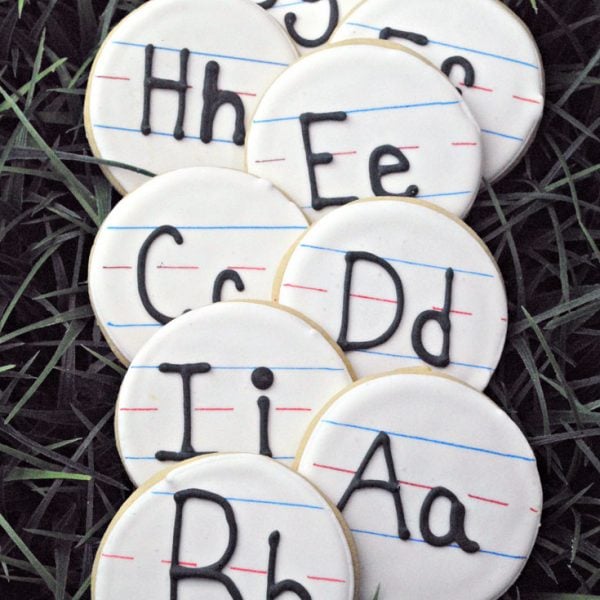
I thought these handwriting sugar cookies would be the perfect back-to-school treat for a Kindergartener.
A few special things you will be needing: a circle cookie cutter, red and blue edible food markers.
Decorating Instructions
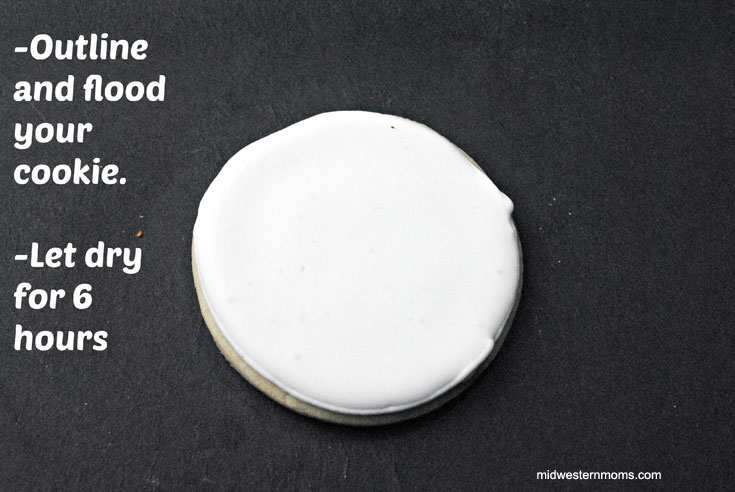
After your cookie has completely cooled, start by outlining the circle with your icing and then flooding it. You will need these to dry for a full 6 hours before you can move on to the next step.
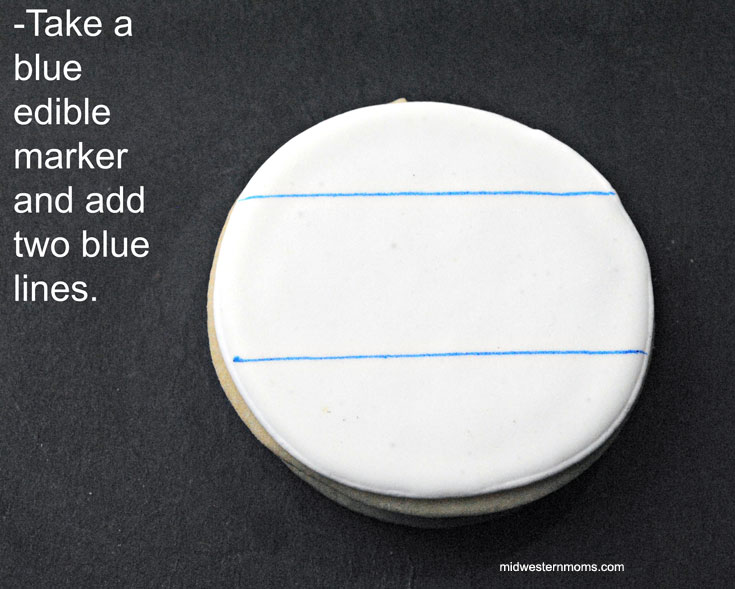
After the icing has dried completely, it is time to draw on the blue guidelines with the edible marker.
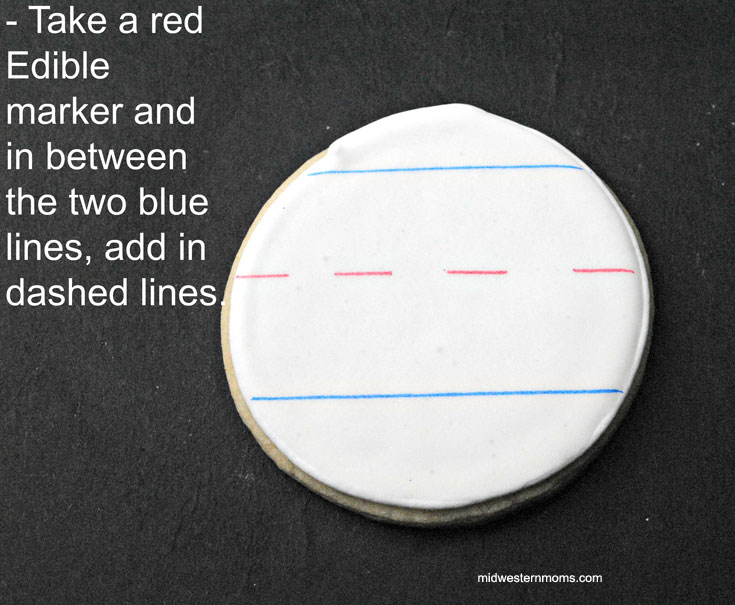
Then add the dashed red lines with the red edible marker.
After the guidelines are completed, you can pipe on the letters using black icing. Aren’t they cute!
Handwriting Sugar Cookies Recipe
Ingredients
Cookies
- 3 cups flour
- 1 teaspoon baking soda
- 1/2 teaspoon salt
- 1 cup unsalted butter softened
- 1 cup sugar
- 1 egg
Icing
- 4 egg whites
- 2 cups powdered sugar
- 1/2 teaspoon cream of tartar
- 1 teaspoon vanilla
- black gel food coloring
Instructions
Cookies
- Cream the soft butter with the sugar until the combination is smooth not grainy to the touch in a mixing bowl.
- Add eggs and continue to mix.
- Add the vanilla and continue mixing together.
- Sift the four, baking soda, and salt together.
- Add the dry mixture to the wet mixture.
- Continue mixing to make sure all ingredients are thoroughly blended.
- Make the dough into a ball, wrap it in cling wrap completely covering the entire dough ball.
- Put in the refrigerator for about 6 hours or overnight. Check to see if the dough is firm.
- Preheat oven to 325 degrees.
- Pull the cookie dough out of the refrigerator and sit it out to soften up a bit.
- Put flour out on a flat surface, rub flour on a rolling pin, and if needed, work some flour into the batter.
- Roll the dough out and using the cookie cutter begin to cut out the cookies.
- Line the cookie sheet with parchment paper.
- Using a metal spatula move the cut cookies to the parchment lined cookie sheet.
- Bake at 325 degrees for 8 minutes. Check to see if the cookies are thoroughly baked.
- Take the cookies off of the cookie sheet and put on a wire rack to cool completely, about 10 minutes.
Icing
- Combine all ingredients (except the food coloring) in a mixing bowl mixing on medium speed for 4 minutes.
- If icing is not stiff enough add 1/4 cup powder sugar.
- Scoop some white icing into a piping bag with a number 2 tip.
- Scoop some icing into another bowl and add a few drops of black food gel.
- Scoop some icing into a bag fitted with a number 2 tip.
- Squeeze the majority of the icing into a bowl then add 1 tsp of water to this icing and stir to mix the water and icing together.
- Pipe on a white outline with the white icing bag, fill in with the thinner white icing.
- Let the cookies dry, for at least 8 hours in a cooled oven before drawing on the lines and adding the letters.
- Using the edible blue marker, make paper lines as well as with the red marker.
- Using the black icing, pipe on letters.
- Let dry for 2 hours before bagging, should you decide to bag them up for gifts.
