Thanksgiving Card
This post may contain affiliate links. If you make a purchase through links on our site, we may earn a commission. As an Amazon Associate, I earn from qualifying purchases.
Disclosure: This project has been compensated as part of a social shopper insights study for Elmer’s #gluenglitter #collectivebias #CBias All thoughts and opinions are 100% honest and are that of my own.
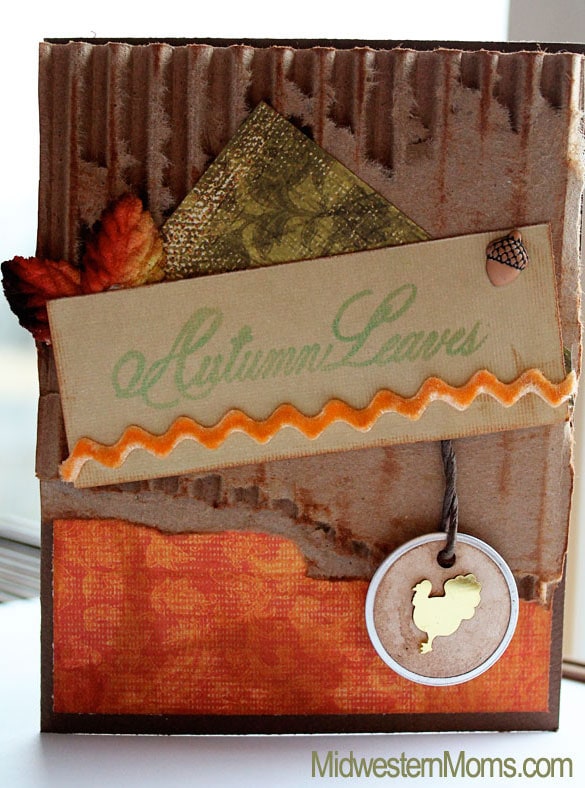
This week we will be creating a Thanksgiving Card! I love scrapbooking, so I didn’t have to purchase much for this project, I simply dug through my supplies.
This project was completed with scrapbooking papers, embellishments, things I found around the house and products from Elmer’s. Please check out my Google + Shop to see my entire trip to WalMart to pick up my supplies.
Supplies:
- Elmer’s Craftbond Adhesive Squares
- Elmer’s Craftbond Flexible Dual-Tip Glue Pen
- Elmer’s Craftbond Glue Spots Thin Mini
- Elmer’s Craftbond Glue Spots Thin Medium
- Cardstock, Fall Colors
- Piece of Cardboard
- Distress Ink
- Embellishments (Ribbon, Leaves, Tags
- Stamps
- Ink Pad
- Perfect Medium
- Perfect Pearls
Instructions:
Step 1: Gather your stash and pick out items that would be great for a Thanksgiving Day card.
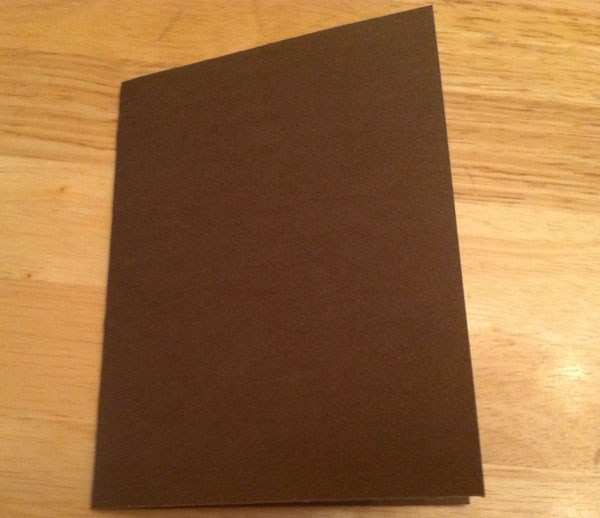
Step 2: Cut a piece of cardtsock to be 8 1/2″ x 3 1/2″ and fold in half.
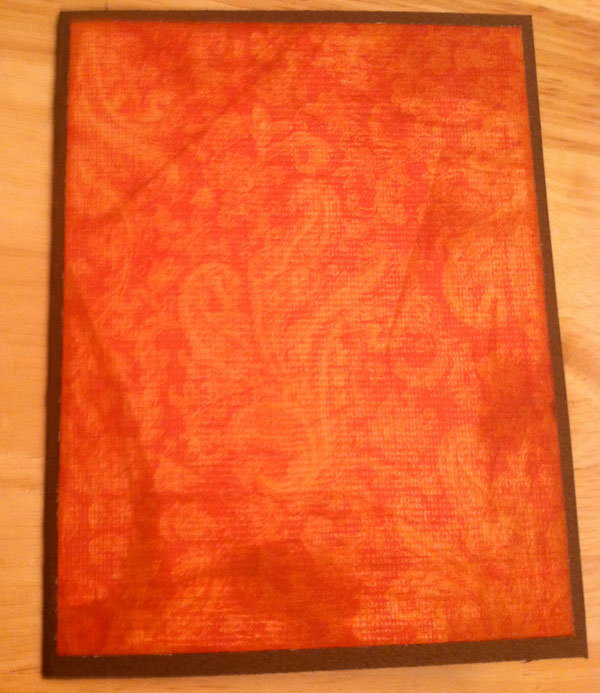
Step 3: Cut out coordinating patterned paper to place on the card. Take your distress ink and make the edges appear aged. Apply adhesive squares to the back of the paper and attach to the card.
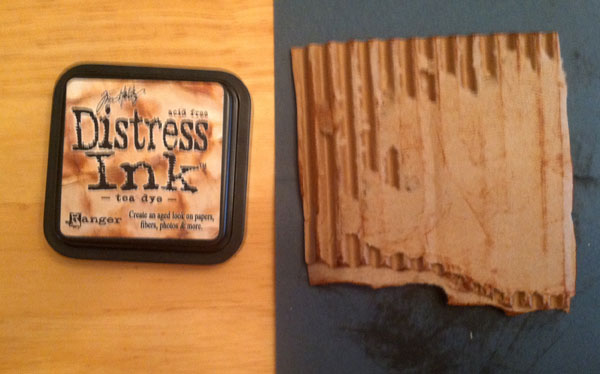
Step 4: Tear off a piece of cardboard from a cardboard box. Rip it in half and cut it to the size of the card. Use Distress Ink to make the edges look ages and attach to the card with adhesive squares.
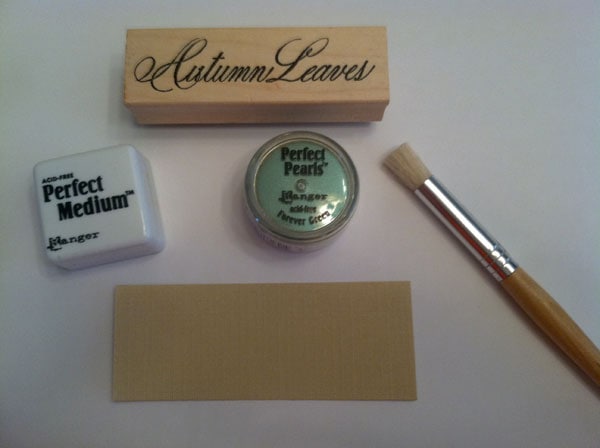
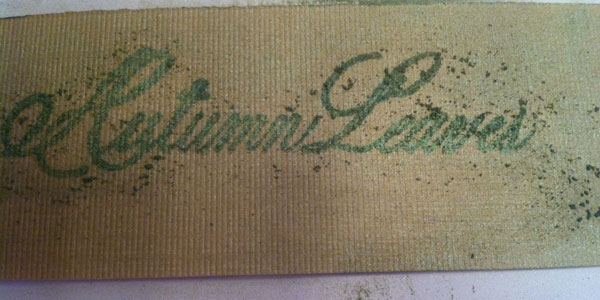
Step 5: Cut off a small piece of cardstock. Get out your Perfect Medium and apply it to your stamp. Stamp the image on the paper, it will look clear. Using the Perfect Pearls, sprinkle some of the powder over the top of the stamped image. Take your brush and stipple until you remove all the excess powder from the image. Pour excess powder back into the jar.
Below is what it will look like when you are almost done.
Step 6: Using the additional Elmer’s products and your embellishments, attach the elements o the card.
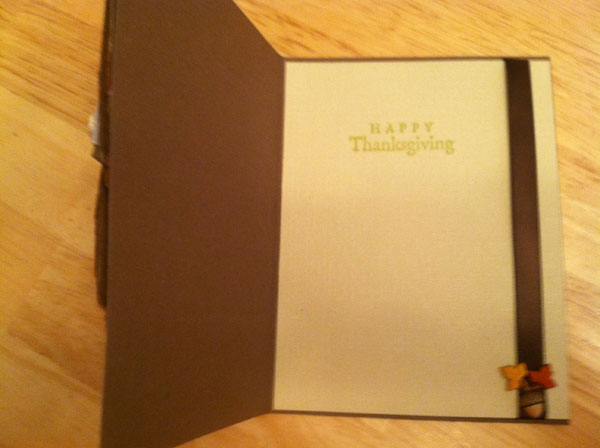
Step 7: I always like to do a little something to the inside of the card also. Add a stamp that says “Happy Thanksgiving.”


Oh my gosh! I never would’ve thought to use corrugated cardboard like that! Ingenious.
I love using cardboard with scrapbooking and cardmaking projects. It seems to be the one thing I always have too much of! haha!
What a pretty card!! Love all the embellishments on the front! :)
Thanks Sara!
I love the distressed look! I’ve never tried the Distress Ink before, but I bet I do now. Love the colors you put together!
Thanks! I love Distress Ink. I love running it along the edges of my cards to give them an aged look.