Stripe Crochet Beanie Hat Pattern
This post may contain affiliate links. If you make a purchase through links on our site, we may earn a commission. As an Amazon Associate, I earn from qualifying purchases.
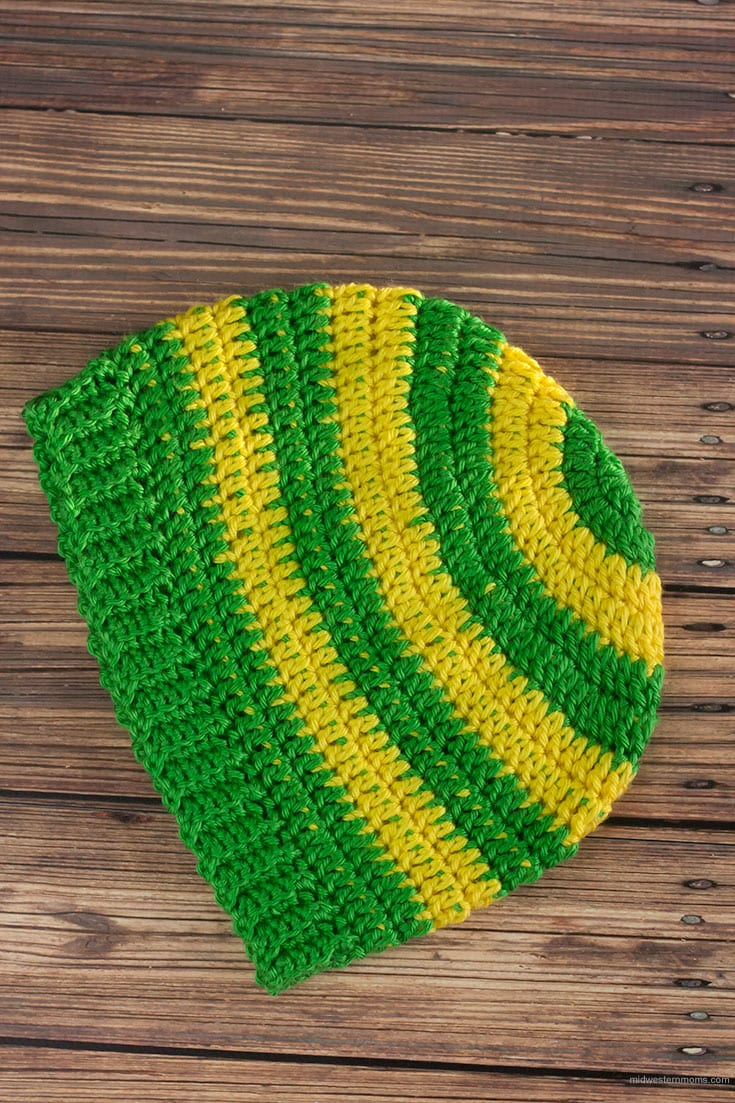
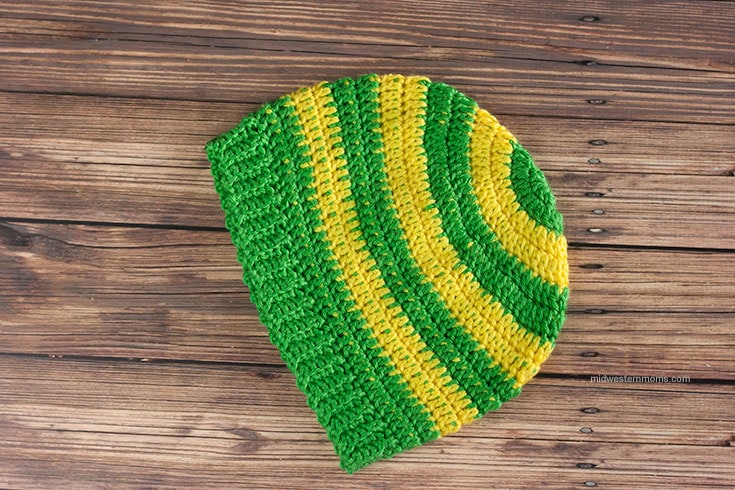
Simple stripe crochet beanie hat pattern. This pattern is for a child-sized, however you can modify it for other sizes as well.

When the weather started getting cold, my son wore his bear hat (non-crochet type hat) to school. He has always loved that hat. The first day wearing it to school, kids must have made fun of him because he refuses to wear it anymore.
He came home that day requesting I make him a hat to wear.
I attempted one hat and it totally bombed. Tried to work a hat in rows instead of the round. Just didn’t work out right. So, I went with a beanie type hat.

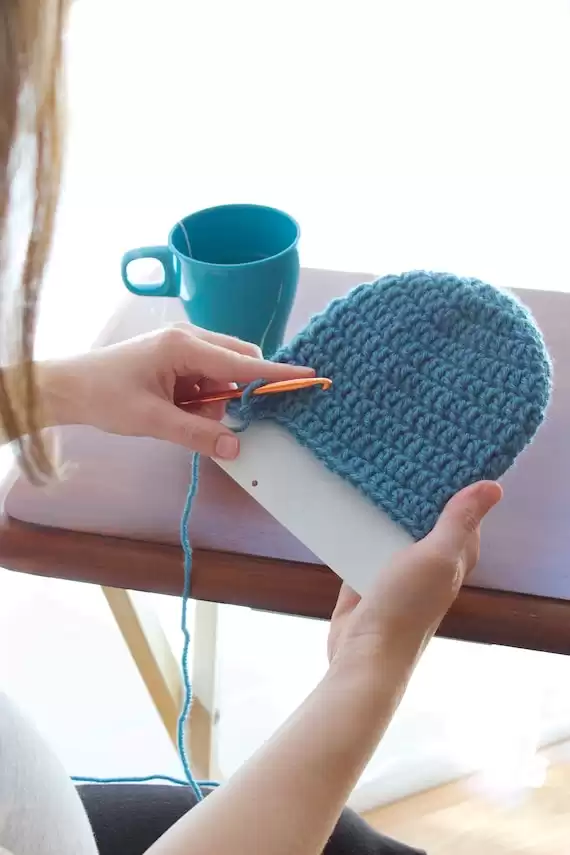
Since this is made in a child’s size, crown circle diameter is between 6.25 and 6.5 inches. The hat height is between 7.75 – 8 inches. Make sure when you are working this pattern that is your measurements.
Want a free Crochet Hat Measurements chart? Scroll to the bottom of the post to see how you can get one.
I also did not cut my yarn between color changes. Whichever one I was not using, I just crocheted over. Makes for fewer ends to weave in.
These templates cleverly enable you to make hats in any size more efficiently than ever before using any yarn weight and any hook size
Stripe Crochet Beanie Hat Pattern: Child Size
WHAT YOU WILL NEED:
- 2 colors of worsted weight yarn – I used Caron Simply Soft in green and yellow
- H crochet hook
- Scissors
- yarn needle
TERMS:
- C1 – Color one
- C2 – Color two
- SC2TOG – Single Crochet 2 stitches together
PATTERN:
Round 1: C1 – Starting with the magic circle, Chain 2. Double Crochet 12 stitches. Pull the circle closed and slip stitch together.
Round 2: C1 – Chain 2. Double Crochet twice into each stitch around (24 stitches). Slip stitch together.
Round 3: C2 – Chain 2. *Double Crochet once in the next stitch then twice in the next stitch.* Repeat from * to * around. Slip Stitch together (36 stitches)
Round 4: C2 – Chain 2. *Double Crochet once into the next 2 stitches. Double Crochet twice into the next stitch.* Repeat from * to *. Slip stitch together. (48 stitches)
Round 5: C1 – Chain 2. * Double Crochet once in the next 3 stitches. Double Crochet twice into the next stitch.* Repeat from * to *. Slip Stitch together. (60 stitches)
Round 6: C1 – Chain 2. *Double Crochet once in the next 4 stitches. Double Crochet twice into the next stitch.* Repeat from * to *. Slip Stitch together. (72 stitches)
Round 7-8: C2 – Chain 2. Double Crochet around. Slip Stitch together. (72 stitches)
Round 9-10: C1 – Chain 2. Double Crochet around. Slip Stitch together. (72 stitches)
Round 11 – 14: Repeat from round 7 to 10.
At this point, the color you don’t want to use for the edge of the hat, you can cut and weave in the ends. Continue on with the color that you want for the edge.
Row 1: Chain 6. Single Crochet into the back loop of the second chain from the hook and single crochet into the back loops only across. (5 stitches) To secure the row to the hat, SC2TOG the next two stitches of the hat.
Row 2: Turn your work. (no chain needed) Single Crochet in the back loops only across. (5 stitches).
Row 3: Turn your work. Chain 1. Single Crochet across in the back loops only. (5 stitches) Make securing stitch like before.
Rows 4 – 72: Repeat rows 2 to 3.
Slip stitch at the end of row 72 to secure it. Cut your yarn but leave enough on it to sew the edging together. Using the yarn needle, sew the edges together and weave in your ends.
To Download Your Crochet Hat Measurement Chart
You may join our newsletter and get access to the freebie library or you can view the hat measurement chart.
Download the Printable Hat Measurement Chart from our Freebie Library!
If you have already joined,
log in to the library.

