Primitive Bell Garland Tutorial
This post may contain affiliate links. If you make a purchase through links on our site, we may earn a commission. As an Amazon Associate, I earn from qualifying purchases.
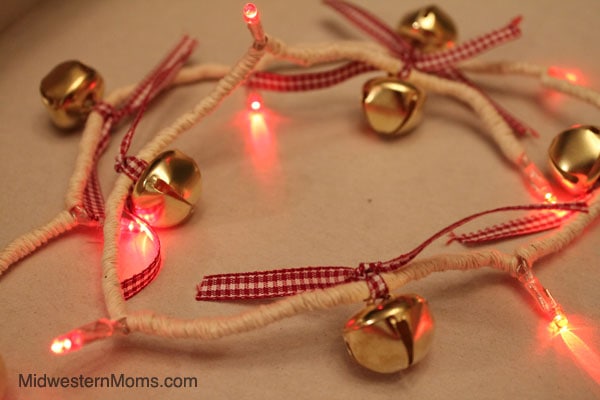
For the bell theme today I wanted to create something that goes well with my livingroom decor and that I could technically display a little bit longer than just for Christmas- a prim bell garland.
Supplies:
- Strand of Christmas Lights
- Twine
- Ribbon
- Bells
Instructions:
Step 1: Gather up some Christmas lights. I happened to have these lights on hand that I purchased one year for our ugly sweater party. I really don’t prefer red lights, but I’ve kept them around thinking I can do something with them. After all, these lights are battery powered and super convenient for decorating small areas.
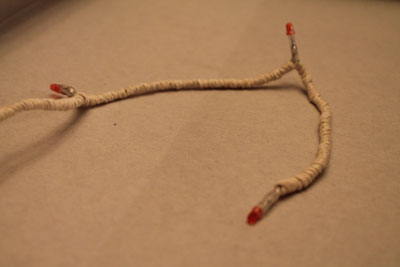
Step 2: Find some twine and wind it around the clear part of the lights. Yes, I do realize this takes a LONG TIME. But, I was in it for the long haul because I wanted these lights to look more attractive so I can actually use them again!
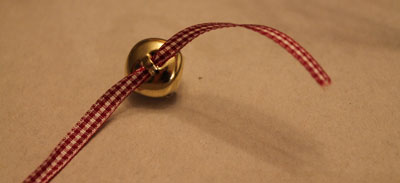
Step 3: String a piece of ribbon through a bell. Since I was making a prim themed garland, I used a red, plaid colored ribbon to give it that country look.
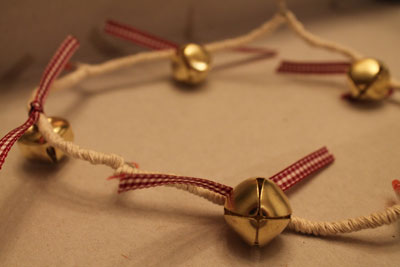
Step 4: Knot each ribbon and bell in the center of each section inbetween the lights.
You can put this garland on a tree, around candles or use it with stars. The best thing about it is that it is simple, so it can work well with many different things! Plus, now that it looks better, I will be MUCH more likely to use it!
What do you think? An improvement over the standard lights?
Please estop by to visit Thrifty Ninja for a Snowman Ornament Bell projects!


I want to hang out and craft with you! I am loving your posts.