#LetsBond with Sun Catcher Craft for Toddlers
This post may contain affiliate links. If you make a purchase through links on our site, we may earn a commission. As an Amazon Associate, I earn from qualifying purchases.
This post is sponsored by Elmer’s. All opinions are my own.
I have taken the pledge – The Lets Bond pledge with Elmer’s!
Taking the time to create crafts with your children helps them grow. They learn hand-eye coordination, create/recognize patterns and it develops their attention span on a specific project. The number one item, to me, is nurturing your child’s imagination and creativity. This is why I took the pledge. To learn more, please visit Elmer’s and read the research that has been collected.
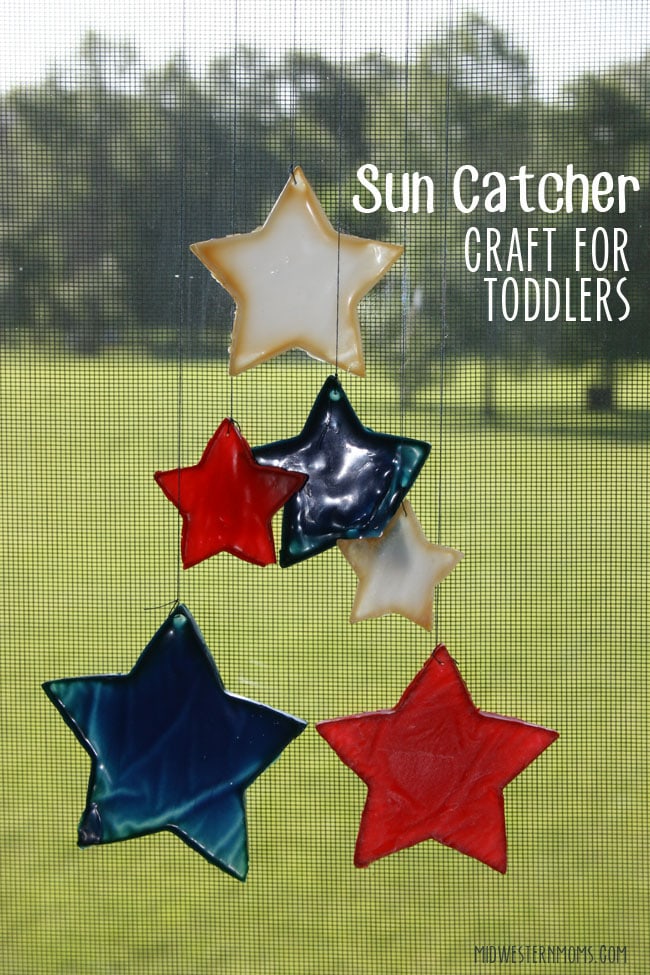
Crafting with my son is a time we can share together. Since his little brother came along in February of this year, he has had to learn to share Mom. This is a great way for us to do something together and have fun. When I picked out this sun catcher craft, I knew he would have fun squirting the glue into the molds. He was very patient and waited for the glue to dry. Since it took several days, he would check on the stars daily and multiple times a day. Sometimes, it was hard to keep his little fingers out of the glue while it dried, but that is a boy for you.
Sun Catcher Craft for Toddlers
What you will need:
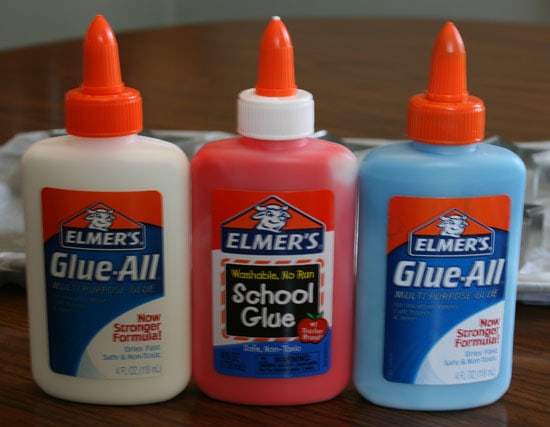
- 3 bottles of Elmer’s Glue
- blue and red food coloring
- bamboo skewers
- star cookie cutters
- wax paper
- needle
- thread
- 1 popsicle stick
- scotch tape
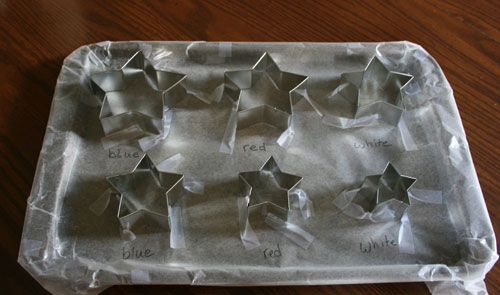
1. First thing I did was cover a cookie sheet with wax paper. I taped this down with scotch tape so it would not move. Then, I placed the star cookie cutters on the cookie sheet and taped them down as well. This will help them from moving around as well. Optional: I wrote the colors under each star. My son is currently learning to read and this allowed him to read what color each star should be.
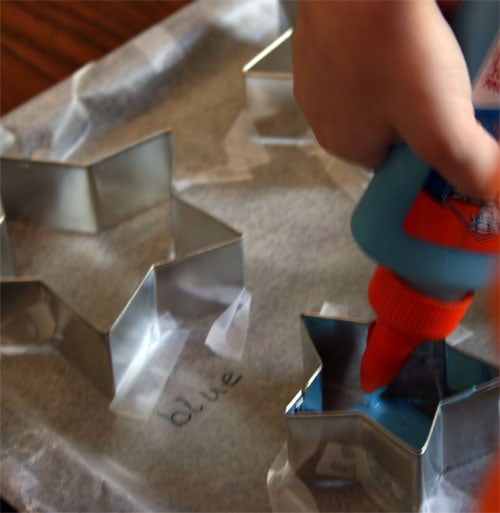
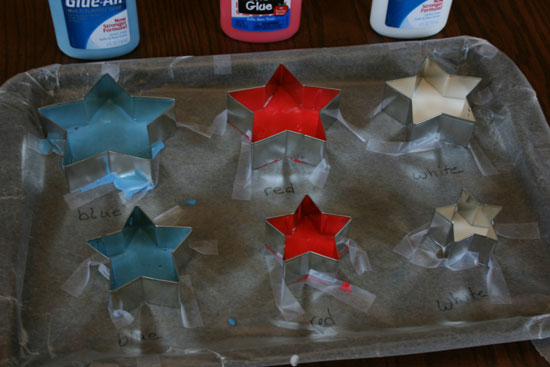
6. Since the stars are rubbery, it is easy to take a needle and make a hole in the stars for the thread. Once the hole is made, tie one end of the thread around the star and the other end to the popsicle stick. Play around with the lengths of thread.
7. Create a loop by tying a bit of string to each end of the popsicle stick.
8. Hang your sun catcher in a window that you and your toddler will see every day.
My son loves seeing the sun catcher that we created. It hangs where he can see it and remember the fun we had creating it.
Have you taken the Let’s Bond Pledge? What crafts do you have planned this summer?

These are so cute! They look so easy to do, and are great for 4th of July decorations. Thanks for sharing!
This is adorable, I think I might have to try it myself! Thanks for sharing. :)
Such a darling idea! And, so easy. Pinned!
Another one for the pintrest board! I think even my older kids would like this.
Beautiful project!
This is so cute! I have a toddler and we are definitely trying this. He will love it! Stopping by from the SITS Girls Facebook link-up.
Just love easy craft projects! Thanks for the inspiration!
Great DIY! Perfect to do with my toddler! Thank you for sharing :)
I love a craft I can do with my almost 5 and 2 year olds. It is so hard to find things appropriate for both of them. Love this!