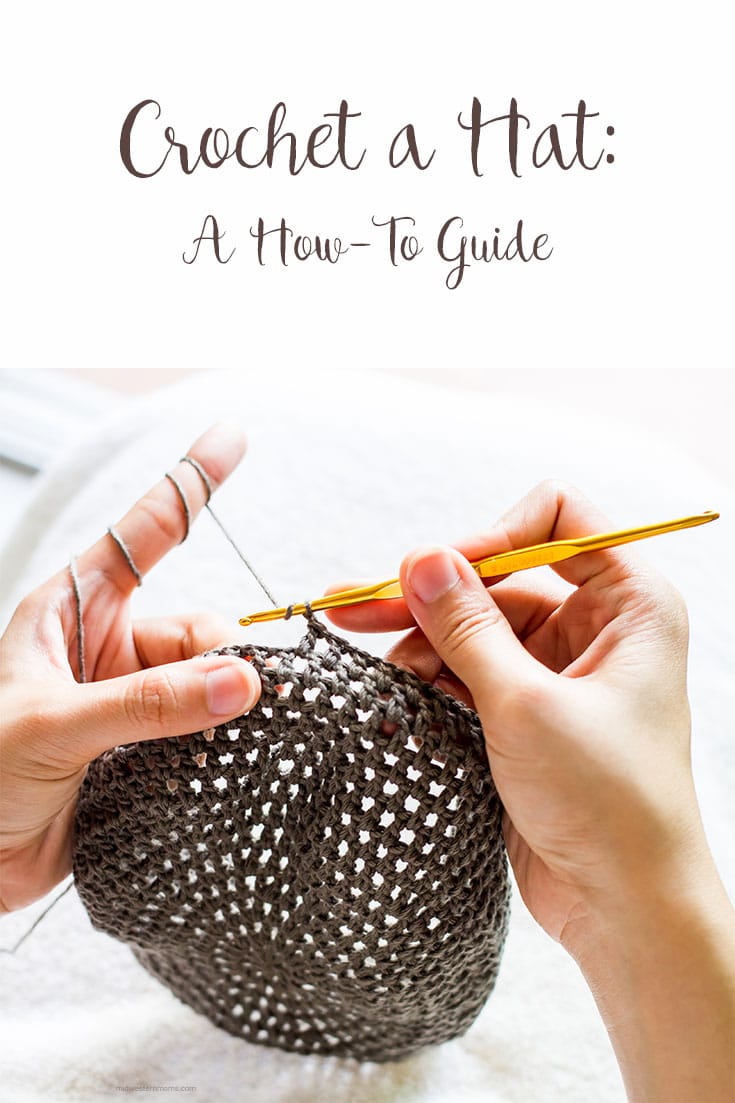
Crochet a Hat – A How-To to Make it Easy
This post may contain affiliate links. If you make a purchase through links on our site, we may earn a commission. As an Amazon Associate, I earn from qualifying purchases.
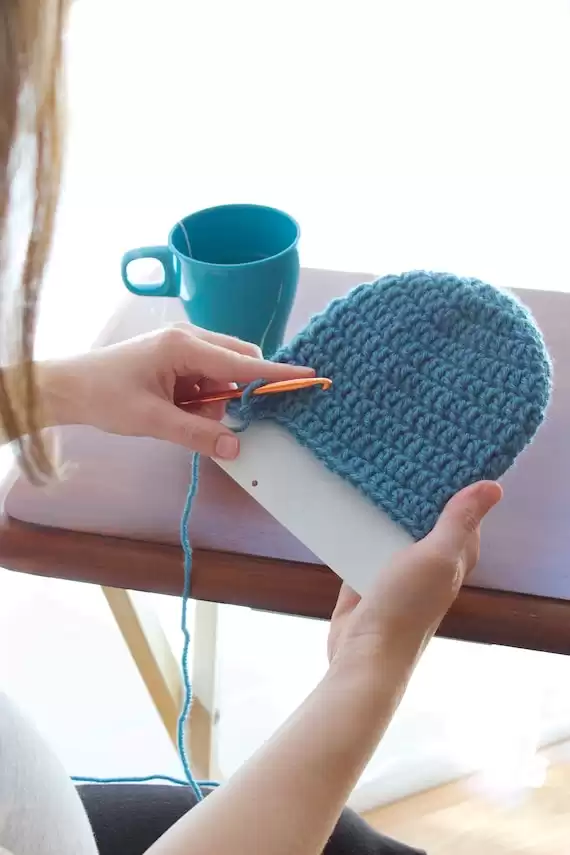
Crochet a hat in no time with this handy guide. After scarves and granny square pot holders, many people move on to trying their hands at crocheting a hat.

Image credit: Chayatorn Laorattanavech via Shutterstock
While the general idea is easy, there are a few things you need to take into consideration before you dive in. Today we’ll discuss the steps you need to take to successfully crochet a hat.
Crochet a Hat the Right Way
It can be tempting to just bust out the yarn and start crocheting. Do not do this!
There are some very important pre-crocheting steps that you need to take before you start crocheting that adorable beanie or flapped hat.
You need to make sure it fits, and you need to make sure that the measurements you take are the measurements that you end up with. Fortunately, these very important steps are also very easy to do!
Size Your Hat
To begin with, you’ll need to measure the circumference of your intended hat wearer’s head. You don’t want to make a hat that is too big, or equally as bad, too small.
A good hat should fit snugly without being uncomfortable. It should also not be so loose that it doesn’t stay on easily. For easy reference, here’s a great site with hat sizing for heads from newborns to adults.
These templates cleverly enable you to make hats in any size more efficiently than ever before using any yarn weight and any hook size
Get Your Gauge
When you crochet a hat, your gauge is just as important as your intended size.
Although almost everyone hates to make swatches, it is vital that you do it. If you don’t crochet out a swatch to get your gauge, you could end up with a hat that is too large or too small.
In either case, all of your hard work is wasted. Almost every pattern will have a gauge guide which tells you how many stitches you should have to the inch in their instructions.
Simply use the yarn you’re going to use for the hat and crochet out a swatch. Then measure to see if you meat the gauge.
If you don’t, swap out hooks or yarn. If you simply must use the yarn, a bit of math can help you adjust the pattern to get the proper size while still using your yarn. Red Heart has a great video on the proper way to get your gauge.
Remember the Basics
Even though you’re moving into a more involved project, remember your basics. Always chain loosely so that you can easily get your stitches into your foundation.
This is even more important for a hat worked from the bottom up because you don’t want a hat that is too tight on the head. Remember, looser is always better.
Another thing worth noting when you crochet a hat is changing yarn should you need to. NEVER knot your yarn. It’s uncomfortable, and it looks terrible.
Rather than knotting off, stop crocheting when you have about 6 inches of yarn left. Begin crocheting with the new yarn and crochet the tail into your work. This provides a sturdy anchor and doesn’t make an unsightly knot.
A Good Foundation is Key When You Crochet a Hat
It’s fun to crochet a hat, especially if you’ve never done it before. Hats are generally easy to crochet, they’re always super cute, and they are always welcome in the winter. If you remember your basics, you should have no trouble when you begin to crochet a hat.

