Dog Treat Jar
This post may contain affiliate links. If you make a purchase through links on our site, we may earn a commission. As an Amazon Associate, I earn from qualifying purchases.
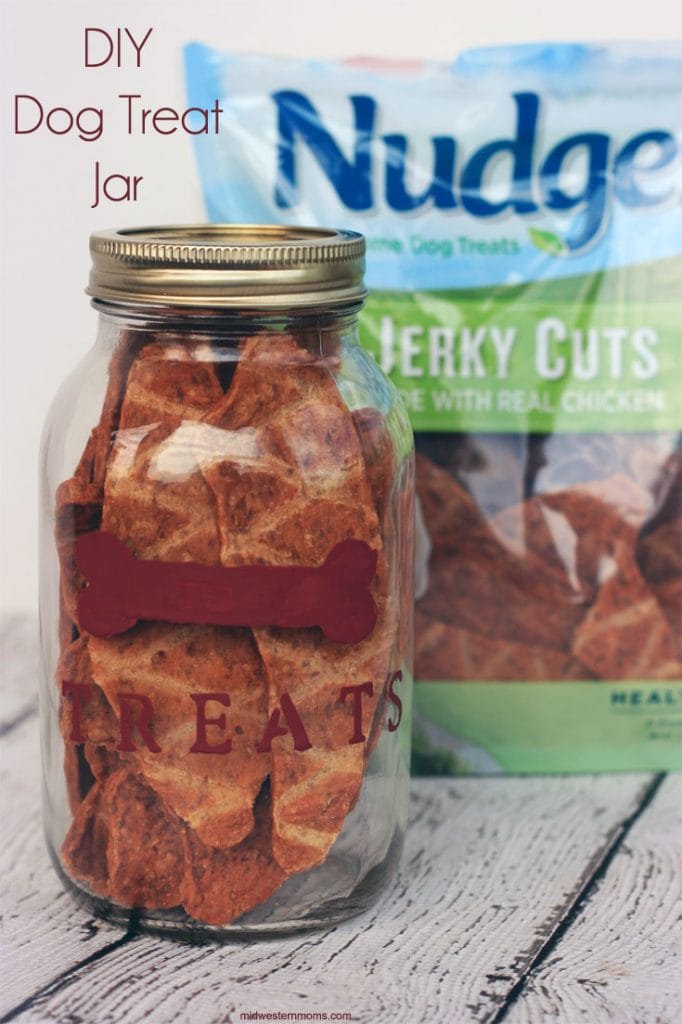
I am in love with making different things out of mason jars. They are just fun to work with and I decided my dogs needed a dog treat jar.

This post contains affiliate links. As an Amazon Associate, I earn from qualifying purchases.
We love to spoil our dogs with tasty treats. It is one way we show our love for them. So having a cute dog treat jar on the counter just for them, just says “I Love You” even more! They know it is filled with tasty treats, just for them.
DIY Dog Treat Jar
WHAT YOU WILL NEED:
- Large Mason Jar
- Paint – I used Chalk paint but you can use acrylic paint as well.
- Paint Brush
- Stencils – I found some adhesive ones to use
- Nudges® Dog Treats – I used Nudges® Jerky Cut dog treats made with Chicken Health and Wellness

Step 1: Clean the surface of your Mason Jar. Make sure it is completely dry before proceeding.
Step 2: Apply your stencils to the jar so it says “Treats”.

Step 3: Paint your letters.
Step 4: Remove the stencils gently before the paint dries.
Step 5: Draw a bone on a piece of paper and tape it to the inside of the jar.

Step 6: Paint the bone on your jar.
Step 7: Allow the jar to dry completely.
Step 8: Fill the Dog Treat Jar with any dog treats of your choice.
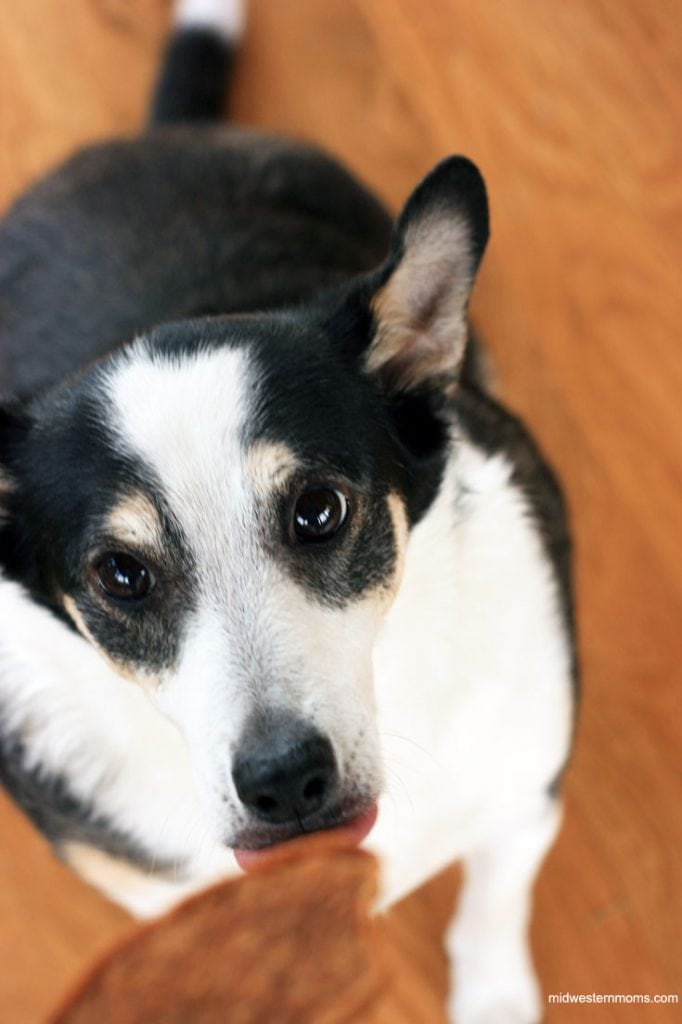
Here is our youngest pup patiently waiting for her treat. Who can resist this face?

She says they are lip-smacking good!

Now when your dogs nudge you, reach for your dog treats jar, and give them a Nudge back.
