Valentine’s Crafts: Candy Cones
This post may contain affiliate links. If you make a purchase through links on our site, we may earn a commission. As an Amazon Associate, I earn from qualifying purchases.
Disclosure: I was compensated with product in order to conduct my review. All thoughts and opinions are 100% honest and that of my own.
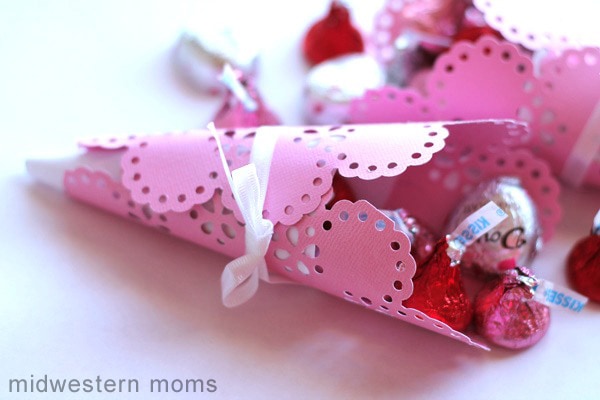
I enjoy creating Valentine’s crafts that I can share with others. Today, I am featuring the use of a unique tool by Martha Stewart Crafts that has quickly become a staple in my supplies, the circle edge punch. I used it to create these Valentine’s Candy Cones.
These cones are a great way to share candy with your Valentine! Who doesn’t love a little chocolate? Even though I filled these with chocolates, you can also fill them with toys, hand-written notes, and more! It is fun to make Valentine’s crafts with my daughter. She helped me add the candy to the insides (and stole a couple pieces, too!)
Valentine’s Candy Cones Supplies:
- Martha Stewart Crafts Circle Edge Punch
- Pink Paper
- White Paper
- Adhesive Dots
- Ribbon
- Scissors
- Candy
Instructions:
Determine the size of circle you want to make. I used a 6″ circle and set the punch to that. Cut a square piece of pink paper to be about 7″x7″ square.
This tool is one of the coolest concepts I’ve ever seen. You place your full sheet of paper under the magnetic circle. You set the tool for 6″ in two different places (the front, and the side that you actually use to do the punching). The punch itself is magnetic and attaches to your paper in the correct place every single time. You push down and punch once, and then push down the circle and rotate once to punch again. I am seriously in love with the way this punch works and am going to search out additional cartridges I can use with it!
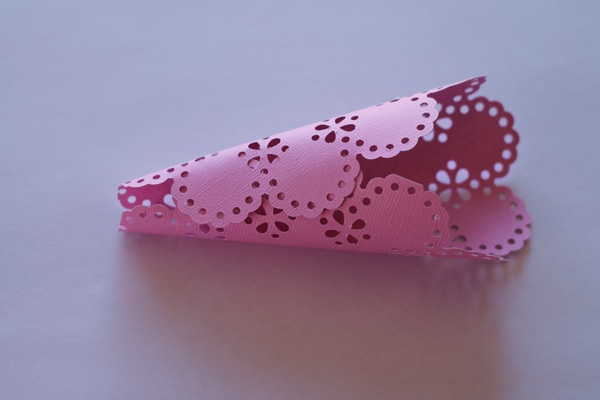
Once your circle is punched, form it in the shape of a cone and use adhesive dots to adhere the paper together.
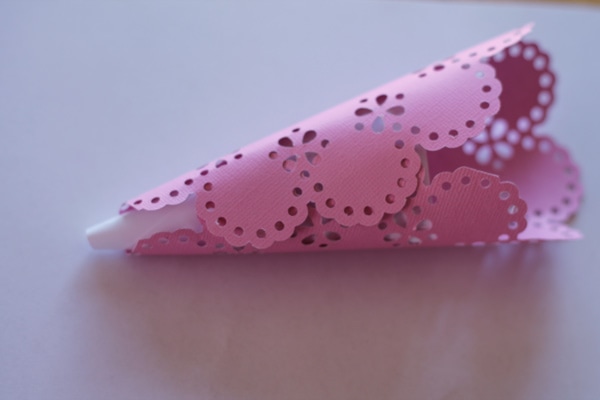
Cut your white paper into small squares and form them into the shape of a cone. Adhere the sides together with an adhesive dot and trim the top so that you don’t see the top when you are looking at the cone. Drop down inside of the cone. The end will hang out a bit at the bottom. This will allow you to hold smaller candies inside the cone without falling out.
Tie a ribbon around the center and make a bow. Then you are ready to add your candy!
I am going to definitely use this punch to create more Valentine’s crafts. It’s my new favorite tool!


What a pretty idea!!
That is so cool. I have got to look for that punch at the craft store!
Those are just adorable!