How to Make T shirt Yarn
This post may contain affiliate links. If you make a purchase through links on our site, we may earn a commission. As an Amazon Associate, I earn from qualifying purchases.
Have some old t-shirts laying around that you don’t know what to do with? Bored with the color, style or don’t want to wear it because it screams 1996?
Recycle that oldie into something better by making t shirt yarn!
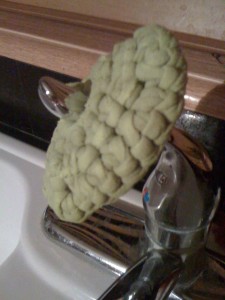
I’ve used t-shirt yarn most recently for projects such as, crochet dish scrubbers, pencil holders and it makes a great rug to lay out for when you come inside with snowy boots.
Supplies Needed
- 1 Clean T-shirt (Make sure the t-shirt has no seams on the sides)
- Scissors
- Measuring tape or ruler
Yeah, it’s that simple!
Instructions
Step 1: Lay t-shirt out flat on a table or the floor.
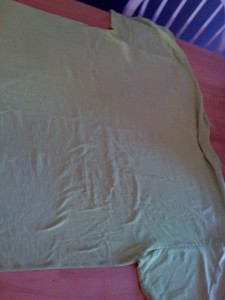
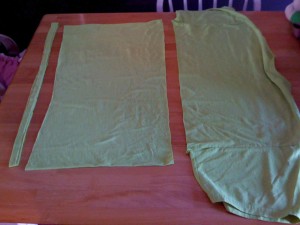
Step 2: Cut the shirt straight across under the arms and also cut the very bottom off to remove any spots where there are seams.
Dispose of the top and bottom and keep the middle. (You don’t really have to dispose of it if you can find something else to make with it of course!)
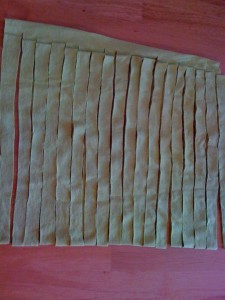
Step 3: Grab the side of the t-shirt closest to you and fold it up to where it is an inch below the other side. Cut strips about an inch wide. When you cut, be sure to cut barely past the top part of what you folded over. (Hopefully this picture will help you out)
Perfectionism isn’t possible here. I’m pretty sure my lines were not even.
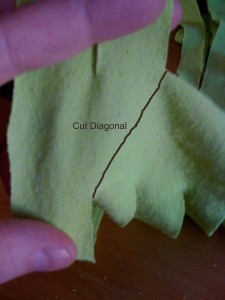
Step 4: Unfold your creation and grab your project at the connected part. Now we are going to separate it so that it forms a continuous loop. To do this, cut diagonally. I actually drew a line on this picture to show you better.
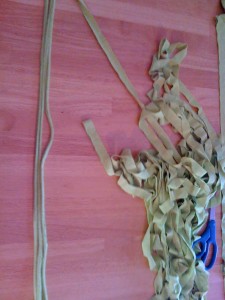
Step 5: Start at the beginning of the fabric and pull to make yarn. The tighter you pull, the more skinny the yarn gets. If you have a section that you accidentally didn’t cut as thick, be careful pulling that part too hard as it will tear if too thin!
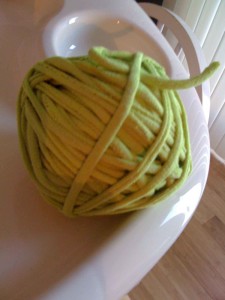
Step 6: Wind your new yarn into a ball
You may also enjoy this plarn tutorial.
Amanda, you are so creative! Now I know what to do with my old T-shirts :) what a great idea. Thanks for sharing!
Fantastic idea!
I haven’t quit figured out the last cut yet but I made a small dishrag. Love how it crochets. Thank you for sharing such a neat idea.
You are welcome! Thanks for stopping by.
I can’t get the cut (diagonal) to make a continuous strip!!!! I just get a LOOP!! What am I doing wrong?
If you are getting a loop, try to cut the next one over to the right instead of the one you have been cutting. That might help out. Then cut at the very end to make it one long strand before you begin pulling.
I would love to make a rug out of old t shirts but what size needle do I need to use .
For a rug I would say you could use a larger sized hook. I believe that I used an N for the last larger project that I made. Another great idea for a rug would be to cut the tshirt into scraps and get a rug canvas and a latch hook, or there is a really cool tutorial involving sewing here: http://thehappyhousewife.com/home-management/upcycled-t-shirt-rug-tutorial/
Good luck!