How To Make A Buttercream Transfer
This post may contain affiliate links. If you make a purchase through links on our site, we may earn a commission. As an Amazon Associate, I earn from qualifying purchases.
This year for my son’s birthday I decided I wanted to make his cake. I am not a fan of store-bought cakes and I didn’t want just cupcakes this year.
The only thing I wasn’t sure about was how to decorate the cake. People can make such wonderful cakes and I wasn’t sure how they did it.
I certainly couldn’t freehand anything so I went digging around the internet to figure out what I wanted to do. Since I knew I would be using buttercream, I decided on trying my hand at a buttercream transfer.
How to Make a Buttercream Transfer
I knew I wanted a Thomas the Train cake for my son. So the first thing I did was get some Thomas coloring books and pick out a picture.
I settled on a page that showed Thomas straight on. I scanned the picture into my computer and printed it out.
This picture didn’t require me to mirror the image, however, depending on the image you use, you will need to mirror it before printing.
Once you have your picture, tape it onto the back of a cookie sheet. Then tape a piece of wax paper over the picture.
You will begin adding your icing to the wax paper. Start by outlining. If you are using black, make sure to purchase black icing.
Homemade black buttercream icing tends to bleed. (need the recipe for buttercream icing? See my recipe here.)

Next, start filling in the colors you need. When filling it in, use a brush to get the icing into all areas.
Then use an icing knife to smooth it out a little bit. Don’t push too hard so that you end up moving your outline around.
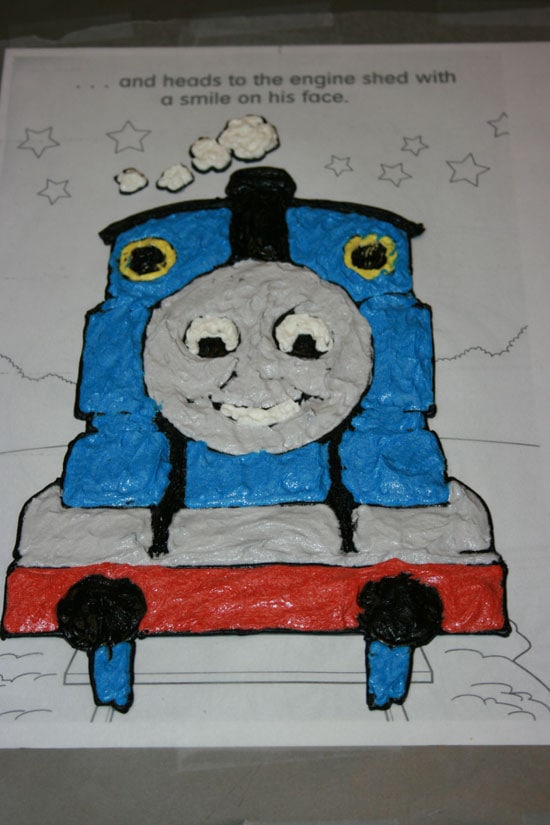
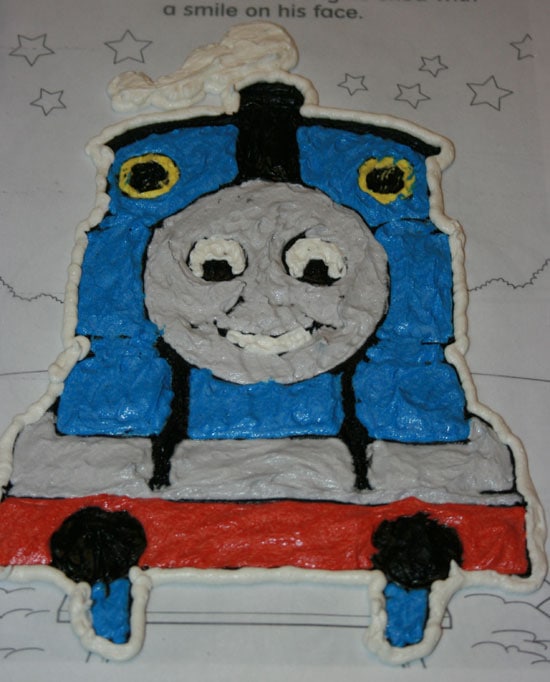
Now you will need to go around the outside of the picture with white icing (or whatever color is going to match the icing on your cake).
Then cover the whole picture in white icing and smooth it out the best you can.
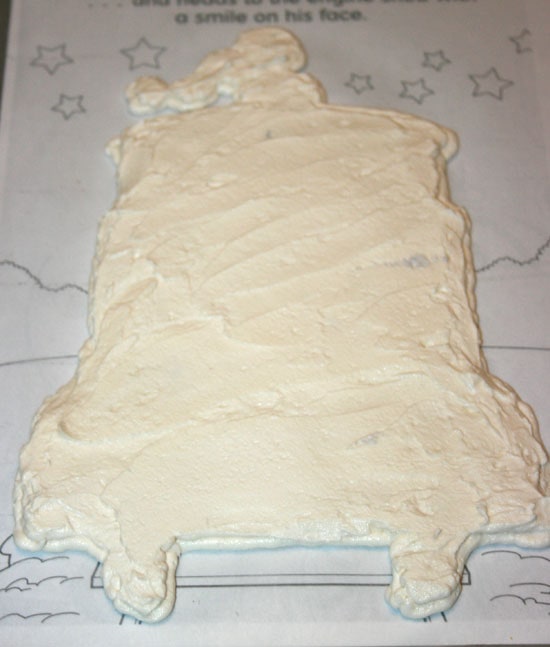
Place your transfer into the freezer for at least 45 minutes. I left mine in overnight.
Once you have your cake iced, remove your transfer from the freezer. Lifting it up by the wax paper and using your hand for support, flip the transfer onto the cake.
You will need to work quickly. If the buttercream gets soft, it will not peel away from the wax paper.
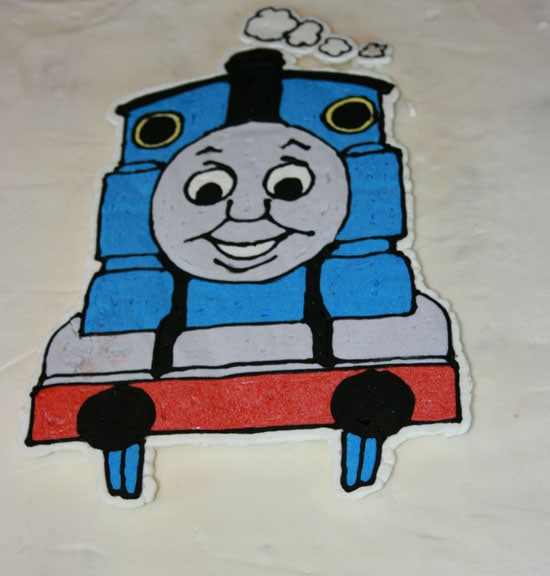
If you have lettering, make sure the words are mirrored. That way they read correctly when you place them on the cake.
If you have more than one transfer, like I did, make sure to only take out one transfer at a time to work with.
I got my lettering out at the same time as Thomas and it thawed. So when I tried to lift the wax paper, it stuck to it.
I just placed the whole cake into the freezer for about 45 minutes and the wax paper peeled right off. That is why the end of the wording looks the way it does.
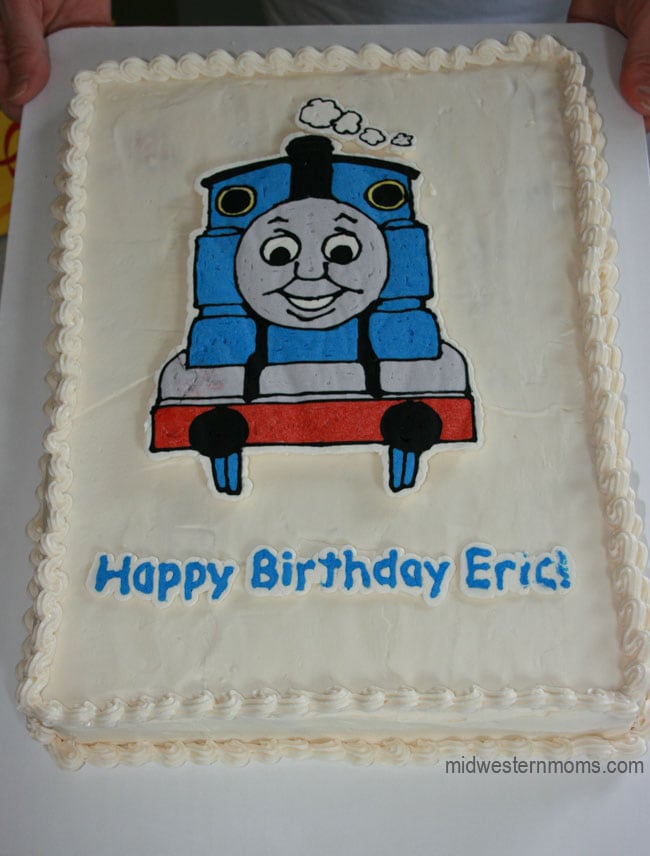
Have you ever make your own cakes? Did you use a transfer? If not, how did you decorate your cake?

Wow! So cool! Thanks for sharing! Now I am ready for Patrick’s next birthday.
Holy moly! I never knew this was possible. Thank you!!
oh wow, wish I had known this before! thanks for sharing.
Wow! I had no idea that was how it was done. You did a great job.
Thank you!
What a great idea! I am pinning to remember for my little guy’s next birthday. I wouldn’t be surprised if Thomas is the requested character too!