Food Diary Project with Elmer’s
This post may contain affiliate links. If you make a purchase through links on our site, we may earn a commission. As an Amazon Associate, I earn from qualifying purchases.
Disclosure: This project has been compensated as part of a social shopper insights study for Elmer’s #gluenglitter #collectivebias” I enjoyed creating this project and assure you that all thoughts and opinions are that of my own and 100% honest.
Getting healthy is a priority of mine right now and I know that the best way to combat your calorie intake is to create a food diary. My right-brained self loves to create and sometimes when I take the time to make something pretty, I tend to stick with it a little bit longer! Since my food journal wil be something that I expect to be with me all of the time, I wanted it to look great!
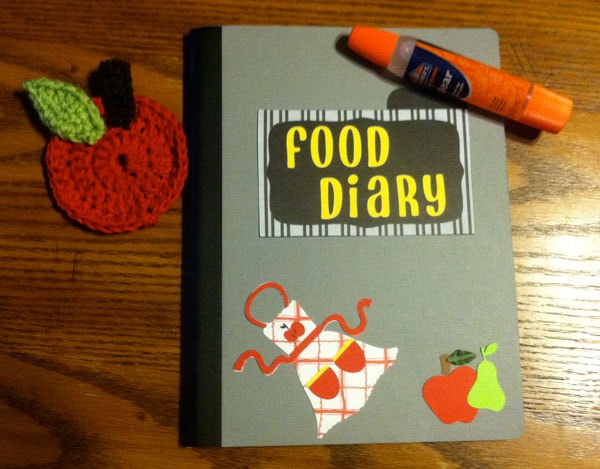
Here is my completed food diary! Isn’t it pretty?
Let me explain my thought process behind some of the elements. The apron is meant to symbolize home cooking. I tend to eat out… a lot. My goal is to start making home-cooked nutritious meals. The apple and pear in the lower right hand corner is to remind me that I need to eat fruit, and at least 2 servings a day! This is another area that I needed some help with. In the center of my diary there is a pocket folder. containing a crochet apple coaster. Are you wondering what that has to do with dieting? The coaster is to remind myself that I need to sit down and drink a glass of water while I fill out my journal. You see, a nice tall glass of ice water will leave a water ring if you don’t put it on a coaster!
Would you like to make a food diary for yourself? Following are the steps I took to create mine.
Supplies
- Notebook (I bought one for 40 cents)
- Paper Cutter and Scissors
- Rounded Corner Paper Punch
- Embellishments to decorate your food diary (I used my Cricut to cut shapes with scrapbook paper, a leaf and yarn)
- Glue – Elmer’s Instant Krazy Glue Pen, Elmer’s Craft Bond Memory Glue Pen and Elmer’s CraftBond Adhesive Squares
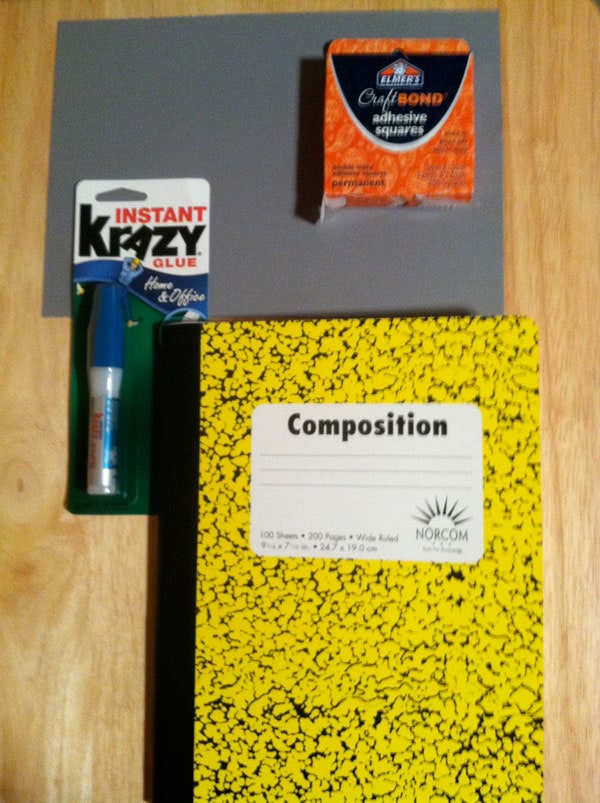
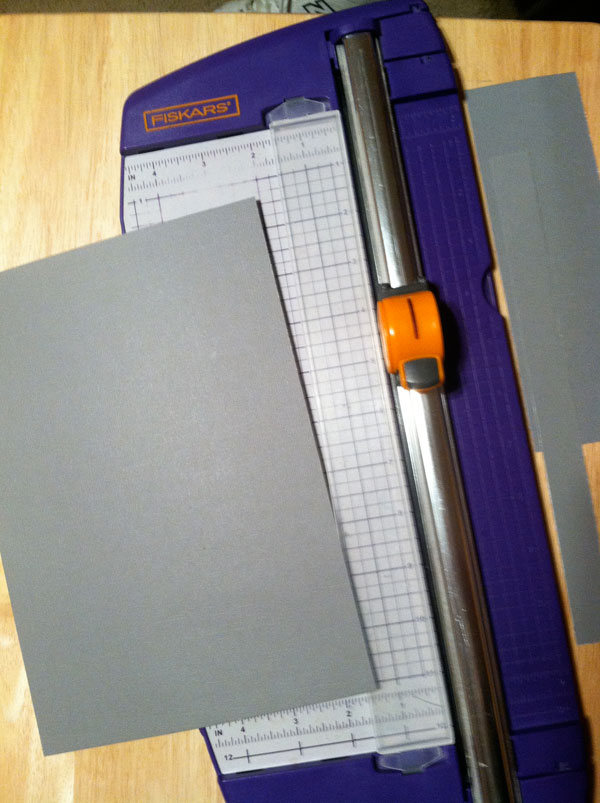
Step 1: Using my paper cutter, I cut a piece of paper to be about 7 1/2 x 11 inches.
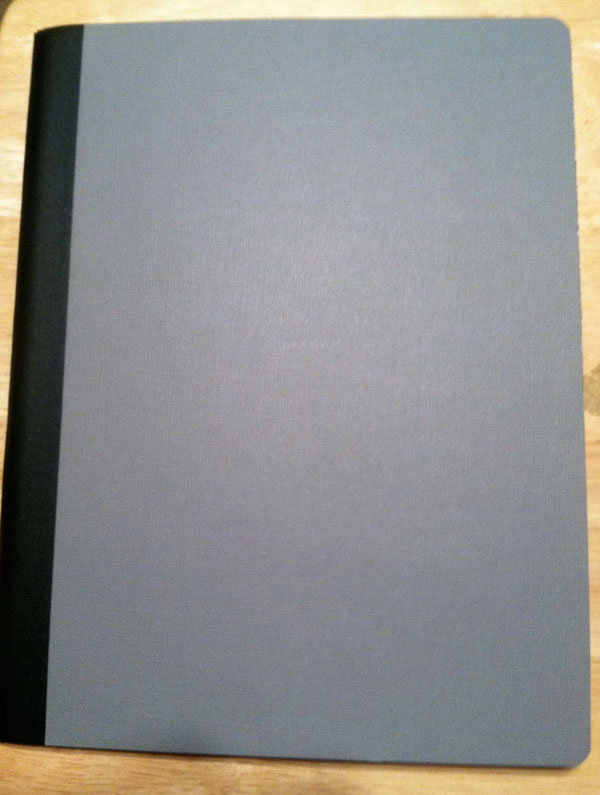
Step 2: Using the adhesive squares, I covered the notebook with my gray paper. It already looks a lot more like a diary, right? I also used my rounded corner paper punch to create the round corners of the notebook.
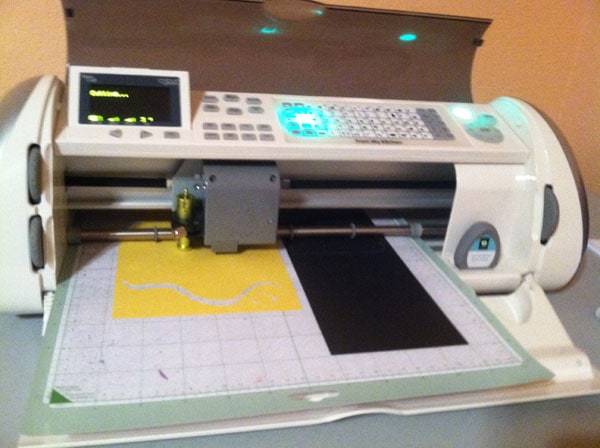
Step 3: I cut out my embellishments with my Cricut, I used the following cartridges: Don Juan for font, Doodlecharms for the Apple and From My Kitchen for the apron, pear and tabbed file folder.
Step 4: I put together all of my embellishments that I cut and adhered them using the glue pens. I used the Krazy Glue on the apple’s leaf because I needed an instant bond.
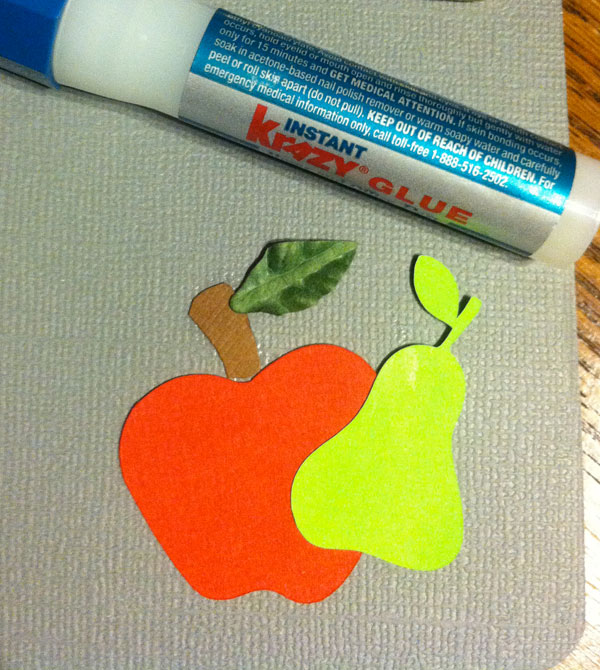
I used the Glue Pen to Glue down the paper embellishments. The apple coaster was part of a set that I had previously crocheted.
I glued only the outside of the Food Diary file folder to make it a pocket for my coaster.
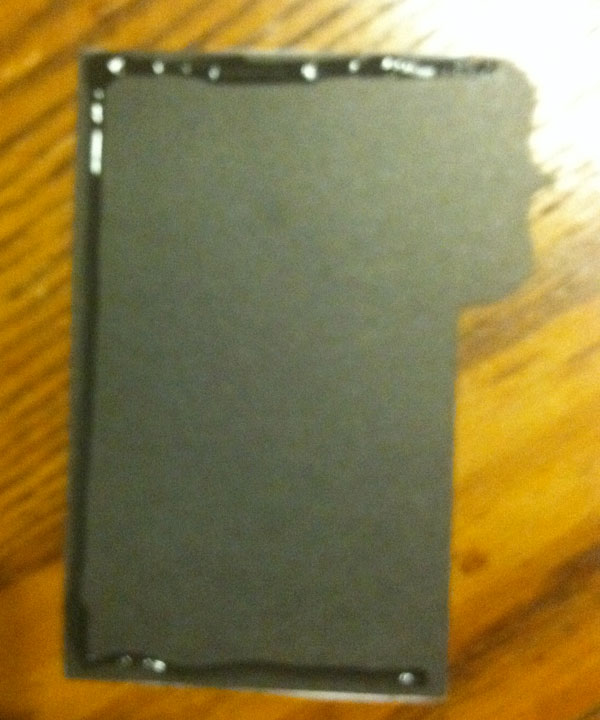
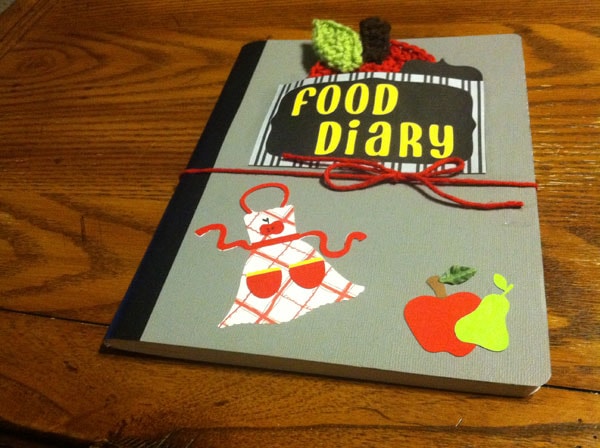
For the finishing touches, I placed the coaster inside the file pocket and placed a tiny bit of the Krazy Glue on the corners of the file folder so that it would give it a good hold since the coaster is more bulky. I also used Krazy Glue to glue the yarn to the binding of the notebook on the front and back. This will allow me to tie and un-tie the notebook so I can open it up and write in it.

Here is my finished product. Please check out my this moment to see how I purchased my items.
Love it! You did an awesome job!
Thank you! I had a great time creating it!
I love how this turned out!