Fabric Flower Tutorial
This post may contain affiliate links. If you make a purchase through links on our site, we may earn a commission. As an Amazon Associate, I earn from qualifying purchases.
I am a sucker for flowers! In fact, I think I once told my friends that my dream job would be to be able to sit and create different types of flowers all day. Hmm, might have to add that to my to do list and start up a shop!
I had purchased a few fat quarters when they were on sale at my local craft store. I realize that fat quarters are for quilting, however sometimes I just need a small amount of fabric to work with, so I usually pick a few up to have on hand. Plus, it never hurts to buy fabric when it’s on sale, right?
Fabric flowers are amazing. There are so many things that you can use them for! If you attach a clip to the back, you can attach them to headbands or straight to your hair, clip them on your handbags, to your clothing, the sky is the limit!
Today I wanted to share my newest fabric flower and show you how to make some of your own.
Supplies:
- Fabric (I washed and ironed my fat quarter and then cut off a 1-inch strip off of the side)
- Scissors
- Hot Glue Gun
- Beads to spice them up if you wish.
Instructions:
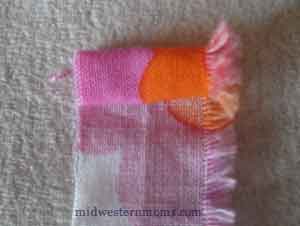
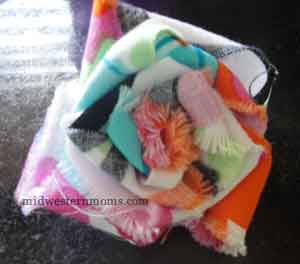
Step 1: Roll the end of the fabric over a few times and place a dot of hot glue to secure the roll. This will be the center of your flower and you will work outward from here.


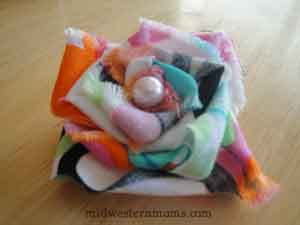
My flower ended up being about 2 1/2 inches wide, which will be the perfect size to attach to a headband for my daughter.
I want to see your finished flower projects! Please stop back by and let me know what you made with them.
Linked up at:
this flower looks great!