Christmas Tree Card Holder
This post may contain affiliate links. If you make a purchase through links on our site, we may earn a commission. As an Amazon Associate, I earn from qualifying purchases.
I looked around for quite a while for inspiration for this project, and I found an idea like this one at Moda Bake Shop. They used their fabric, which I absolutely love, however, I didn’t have any fabric on hand. I decided to settle for scrapbook paper and foam board.
Supplies:
- Foam Board, 1 Piece
- Scrapbook Paper, Christmas Themed
- Adhesive Squares
- X-Acto Knife
- Ruler or Measuring Tape
- Ribbon
- Brads
Instructions:
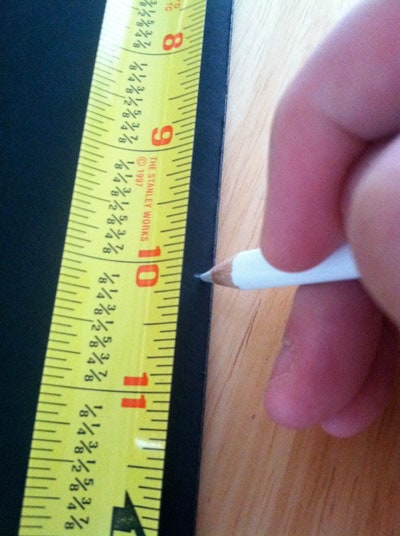
Step 1: Measure to the center of the foam board and make a small mark.
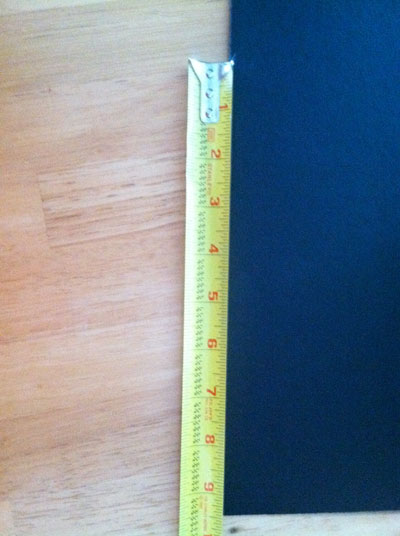
Step 2: Measure about 9 1/2″ from the bottom and put marks there. This will be the line you will use to connect to form the sides of the tree.
Step 3: Draw the lines to connect the sides to the top. Measure 7″ in on each side to create the trunk of the tree and then 3″ vertical to the bottom. Complete by drawing a line across the bottom. It should look like this.
At this point, it sort of resembles an arrowhead more than a Christmas Tree. haha!
Step 4: Cut around the shape with your x-acto knife.
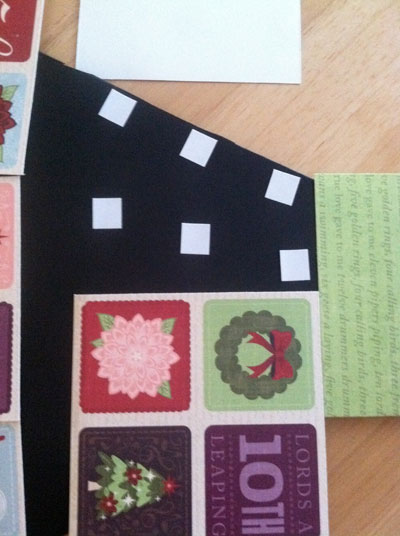
Step 5: Using a paper cutter, cut your paper into 4-inch squares. Place them on the tree. Using adhesive squares, glue them down.
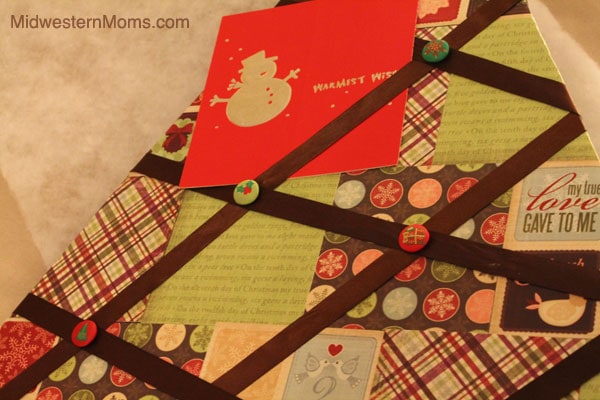
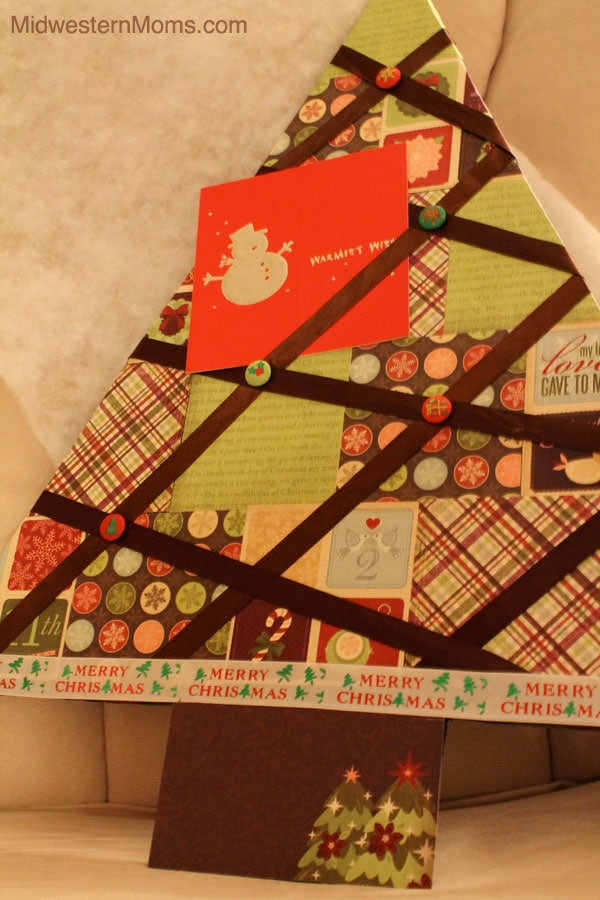
Step 6: Add ribbon. I added a piece of ribbon at the bottom to create a nice clean edge. I also spaced the brown ribbon across and added the brads to create separation so that the cards would stay when put int he card holder.
Here is another photo of the finished project!


Super cute! This one should be on Tip Junkie, too! :)
This is super cute! Great job!