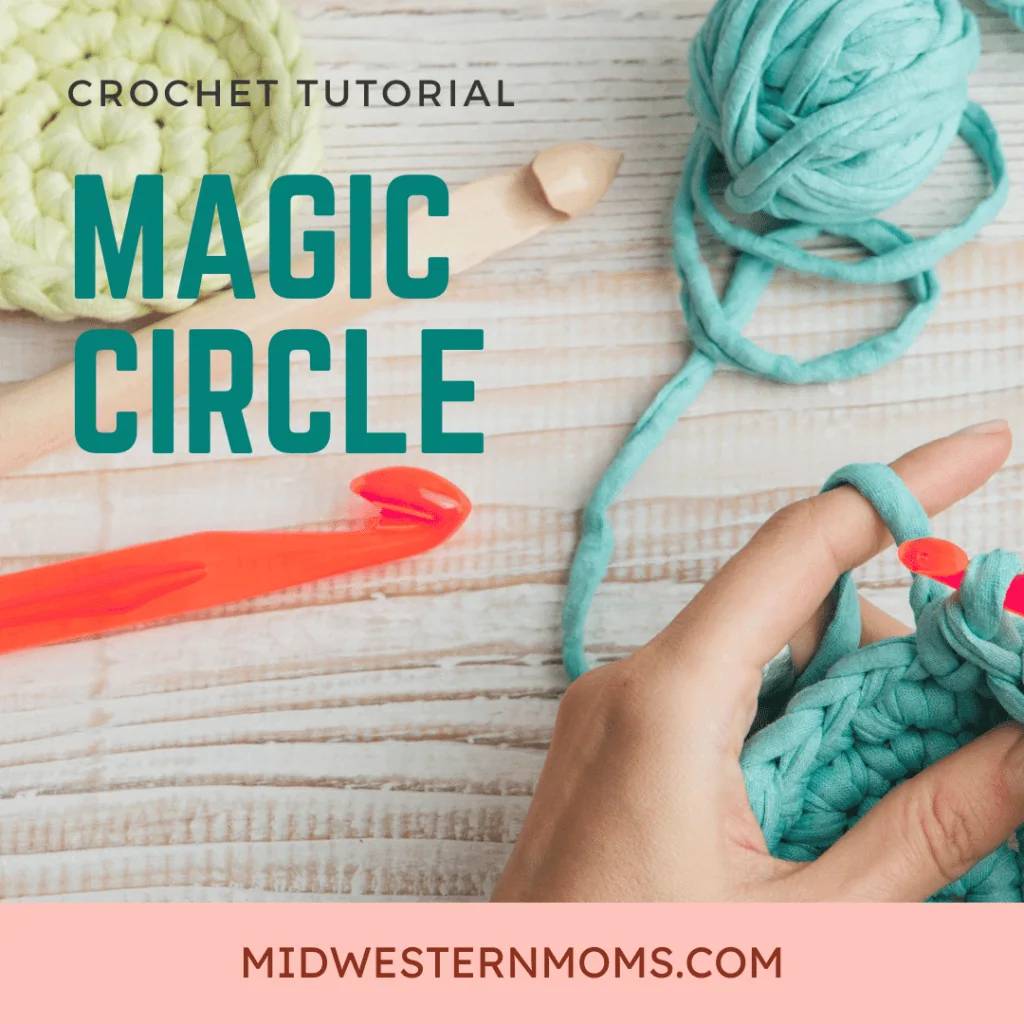
Everything You Need to Know About the Magic Circle (or Magic Ring)
This post may contain affiliate links. If you make a purchase through links on our site, we may earn a commission. As an Amazon Associate, I earn from qualifying purchases.
Have you ever stumbled upon a crochet pattern that calls for you to start with the magic circle (or magic ring)? When I first saw this term, I thought. . . what in the Middle Earth? (Sorry, I couldn’t get through this post without at least one LOTR reference.) This magical wonder is actually a pretty great way to close your beginning round so that you can’t see any gaps.
The Magic Circle (or Magic Ring)
Materials
- Yarn
- Crochet Hook
- Yarn Needle (for Weaving in Ends)
- Scissors
Many patterns crocheted in the round will either call for you to begin with a magic circle, or chain two and crochet a certain number of stitches in the second chain from the hook. The chain method is obviously a very easy one, however leaves a slightly larger hole in the center of your project. If you are creating something such as a coaster, or a round dishcloth, or crochet amigurumi, you probably don’t want the center gap to be noticeable.
The magic circle is an adjustable ring, meaning that you are able to pull it as tight as you need to.
Get our dishcloth ebook
With 13 Patterns
This ebook includes 13 Midwestern Moms’ dishcloth patterns in a nicely formatted, ad-free ebook.

Crochet at Magic Circle
As we already know, many crochet projects are started with a slip knot. I typically start mine by wrapping the yarn around the fingers of my left-hand. The magic circle is started in the same way. Assuming that you are right-handed, use your right hand to wrap the yarn across the front of your first two fingers on your left-hand, and pull the yarn all the way around, overlapping the previous yarn so you have an X. Please refer to the video below.
Insert your crochet hook over the top of the X formation, and under the left side of the X.
Now, this is where I sometimes do things differently than most people. Shocker, I know. . .
Instead of removing the entire circle from your fingers and trying to hold it and crochet into it at the same time, I leave my yarn on my fingers, and use my working yarn to begin my stitches. Crazy easy, right? That circle is always awkward for me to hold and navigate, and I’ve found that this works much better for me.
So, with my hook positioned under my yarn, I yarn over and pull my working yarn under the bottom.
I then chain stitch one, and proceed with my single crochets as intended.
I typically continue this for a few more stitches so that I ensure to maintain my grip when I do finally slide the yarn free of the fingers on my left hand. Continue to crochet however many stitches the pattern you are using calls for on the magic ring.
Once you are completed with the required stitches, keeping your yarn in the last loop, pull the tail of the yarn tight to pull the ring closed.
Slip stitch into the first chain that you made. This is Row 1.
Continue on by reading your pattern for the next rows.
Frequently Asked Questions
I’ve heard it called a magic loop. Is that the same thing, or something different?
The magic loop is more of a knitting term, however some people do also use it as an alternative to the magic circle, or magic ring in crochet. As long as you check your pattern and ensure it calls for a crochet hook, if it uses the term “magic loop” it is talking about this method.
Do I only use this method if the pattern calls for it, or can I substitute it for the chain and stitch method?
You can definitely substitute it! Just perform this and the same number of stitches that you would do in the circle on the original pattern. As long as it makes sense, and doesn’t alter your design concept, you can use this method any time you start a crochet project in the round.
As I crochet, my circle loosens up. How can I prevent this?
First of all, ensure that you are pulling your yarn taught. Depending on the type of yarn you are using, of course some will be a bit more stretchy than others. If you leave a long-tail, weaving in the end early on during the project can also help to hold it into place.

