Holiday Gift Wrap with #GlueNGlitter #cBias #ElmersHoliday
This post may contain affiliate links. If you make a purchase through links on our site, we may earn a commission. As an Amazon Associate, I earn from qualifying purchases.
Disclosure: This project has been compensated as part of a social shopper insights study for #ElmersHoliday #gluenglitter #collectivebias #CBias. All thoughts and opinions are 100% honest and are that of my own.
As Christmas quickly approaches there is one thing that I haven’t done yet – wrap presents. I always wait until the last possible second to wrap gifts, so I thought I would change it up this year. I went shopping this week and got some great new Elmer’s products to use in my gift wrapping. I really enjoy that I can get all of the products I need from Walmart and don’t have to worry about clipping coupons, or stopping by the craft store to get Elmer’s items. I can just pick them up when I get the rest of my groceries.
In this post, I’m going to show you a few different things you can do to jazz up your holiday Gift Wrap. Be sure to check out my shopping trip on Google +.
Fancy Gift Wrap
Supplies:
- Wrapping Paper (2 colors)
- Elmer’s Double-sided Tape
- X-ACTO Precision Tip Scissors
- Invisible Tape
- Bells
- X-ACTO Knife
- X-ACTO Ruler
Instructions:
Present:
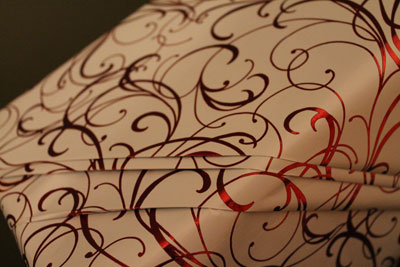
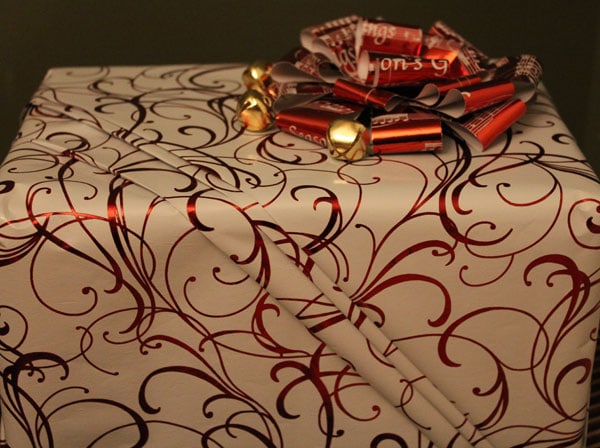
Step 1: Measure out the amount of gift wrap you need and place your box in the center. Cutting the paper is easy with the X-ACTO Precision Scissors. I have had mine for quite some time and they are excellent for cutting gift wrap. Fold over one entire corner. Then fold back and forth several times to create a creative fold in your wrapping paper.
Step 2: Proceed to wrap the present as normal, holding the fold in place and you will get something that looks like this:
Bow
Step 1: Using your X-ACTO Knife and X-ACTO Ruler, Measure and cut 6 long strips out of the other coordinating wrapping paper. Cut 4 of these strips 3 inches shorter than the previous.
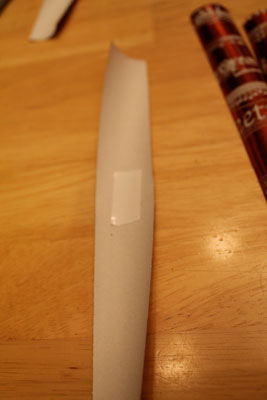
Step 2: Turn each strip over and place a strip of Elmer’s double-sided tape. Peel off the back of the tape and bend the sides down to tape them together. Do this for all strips. Also take one of the remaining cuts from the smaller strips and roll it, securing it with tape.
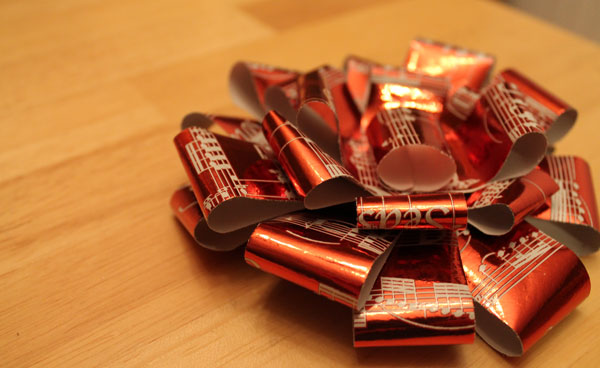
Step 3: Stack each of the longer strips on top of each other using a piece of Elmer’s double-sided tape.
Step 4: Continue to layer the smaller strips and the small rolled one in the center. This will complete your bow.
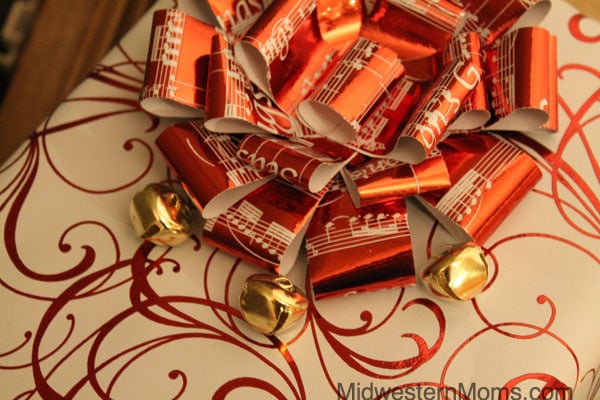
Place the bow on the present and decorate with small elements such as bells.
Create a Gift Box with Scrapbook Paper
Supplies:
- X-ACTO Knife
- X-ACTO Ruler
- Scrapbook Paper, 12×12, 2 sheets
- Elmer’s Craftbond Adhesive Squares
- X-ACTO Decorative Shapes Templates
- Tiny Bows for Embellishments
Instructions:
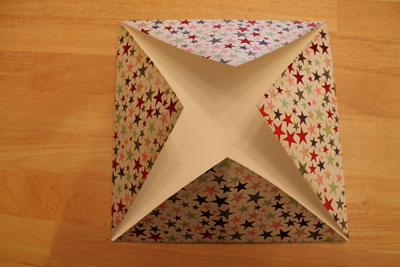
Step 1: Fold the piece of scrapbook paper in half both ways, creating an “x” fold.
Step 2: Fold each corner into the center.
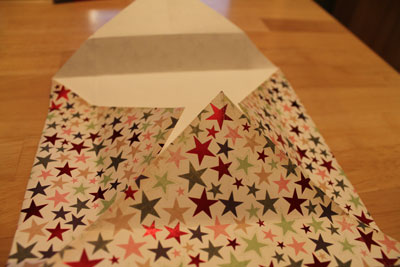
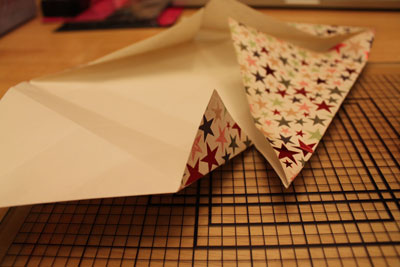
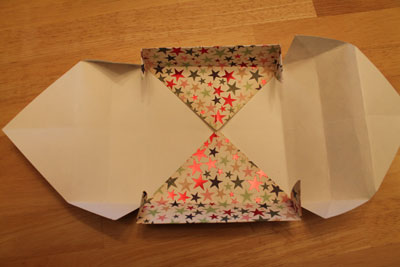
Step 3: Fold a line about an inch to an inch and a half up on all 4 sides. Unfold each one as you fold the next. You will end up with something that looks like this. I have unfolded a corner to show you.
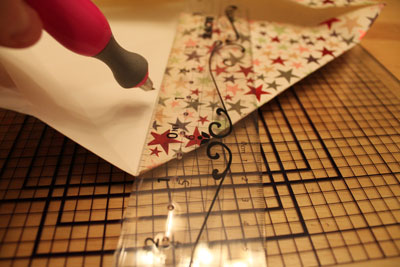
Step 4: Using your X-ACTO Knife and ruler, cut a diagonal line at each edge.
Step 5: Fold the triangles back.
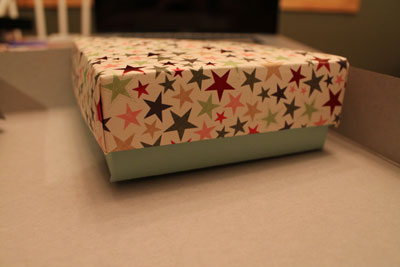
Step 6: Starting with the sides, fold into a box top.
Step 7: Secure the ends down with adhesive squares.
Step 8: Using a coordinating color, create a bottom for your box.
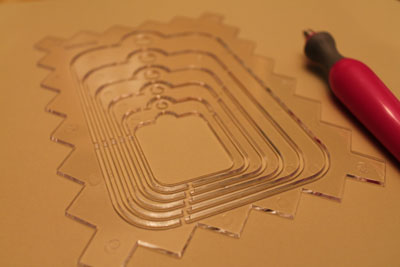
Step 9: Using your tag template , cut out a tag using your X-ACTO Knife.
Step 10: Add sticker to your tag and decorate with bows.
I hope that you have enjoyed these tutorials today for some fun, new gift wrap ideas.







Ooohh, so pretty! I bet your tree looks amazing with all those lovely gifts under it.
Thank you Amy!
Thanks for the tutorial for making your own bows! That is so cool!
very cute idea i love when bows match the packages, it makes perfect sense to make your own!