DIY Americana Sign
This post may contain affiliate links. If you make a purchase through links on our site, we may earn a commission. As an Amazon Associate, I earn from qualifying purchases.
Disclosure: I wrote this post as part of a paid campaign with Plaid Crafts and Blueprint Social. The opinions in this post are my own.
My home is decorated with lots of rustic Americana and flag decor, so I wanted to create a project using Plaid products that I could hang on my wall for the 4th of July, but keep up year round. I love shopping for craft supplies at my local Walmart because it is close and has an amazing selection that I can choose from.
The craft aisle at Walmart was definitely stocked and ready for me to shop!
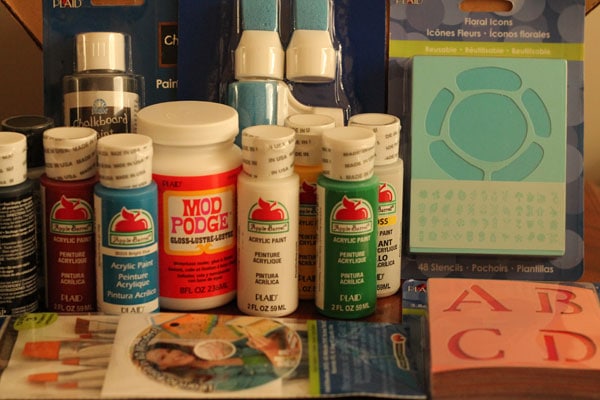
Of course, I can’t forget to include a photo of the products that I received from Plaid!
For the DIY Americana Sign Decor, I purchased a hanging frame that is actually also made by Plaid. They have so many great surfaces that you can purchase to decorate. I used the Apple Barrel Acrylic Paint, paintbrushes, Chalkboard Paint, Foam applicator set, Mod Podge and a 12×12 piece of scrapbook paper that I had at home.
I’ve never used the foam applicator set before, but am so glad I had the opportunity to! I use foam brushes for many of my projects and these make it so easy to paint because they attach straight to your bottle. Loved them!
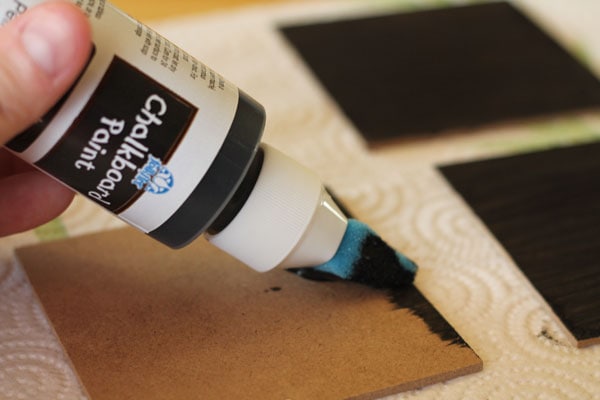
My first step was removing the backs of the frames and discarding the paper and the plastic pieces that protect the photo. I placed the wood backs on a paper towel and started to paint them with Chalkboard Paint. I used 2 coats of the chalkboard paint to coat thoroughly.
I let those dry overnight.
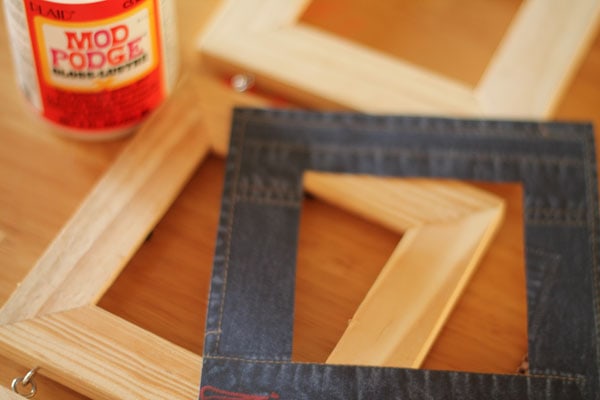
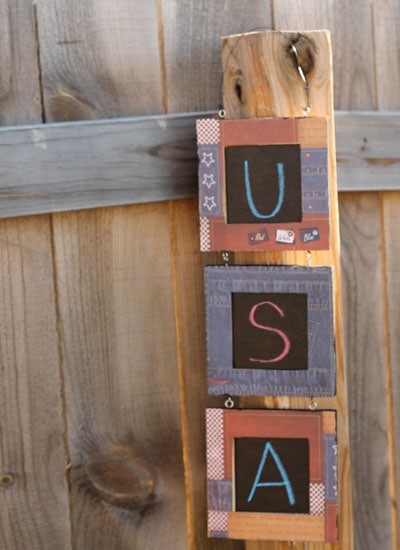
Next, I cut my scrapbook paper to the size of the wood on the front of the frame. Instead of measuring everything out, I turned the frame upside down and traced my lines to cut on the back of the scrapbook paper. I used Mod Podge and a foam brush to attach the paper to the wood. I love Mod Podge – I pretty much use it in every project I do.
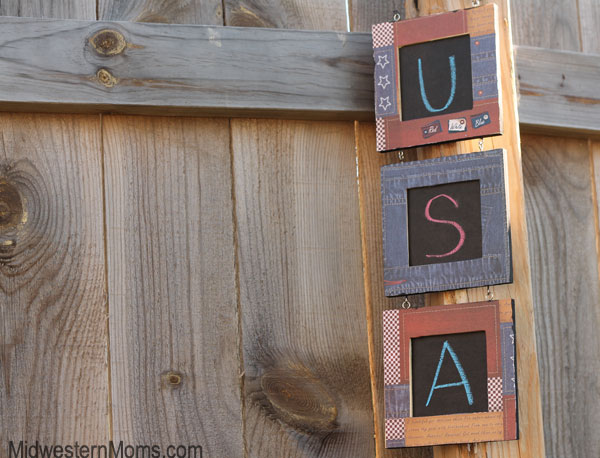
Even though the scrapbook paper looks like denim, I assure you it is paper. However, you could use fabric on this project just as well and come out with a lovely result. Mod Podge works on many materials!
My last step was to paint the outside edges with a paint brush. I decided to use black paint so it would coordinate with my chalkboard centers. After I painted the edges and let them dry, I also ran my scissors along the outside edge to snip off any extra uneven paper.
Once the entire project was dry, I popped the wood back in the frames and used blue and red chalk to write “USA.”
For more information on Plaid products at Walmart, or for some more great DIY inspiration, feel free to visit the following:
- Plaid Crafts on Pinterest: https://pinterest.com/
plaidcrafts - Plaid on Facebook: https://www.facebook.com/
InspiredByPlaid - Plaid on Twitter: https://twitter.com/plaidcrafts
/ - Walmart Crafts on Pinterest https://pinterest.com/walmart/



Love your project Amanda-the paper is fabulous! I love denim.
great tute!
gail
Thank you Gail!
Love your project, it turned out great!
Debbie
Thank you Debbie! I loved yours as well!
Love patriotic decor! Looks awesome! :)
That denim paper is so fun! Holiday festive without being too obvious!
Love all the projects I’m finding that all of you bloggers did with the Plaid products.. It’s great and so much talent. Makes me wish I was a blogger so I could get stuff to experiment with. Looks like Plaid has really built up their products. I’d love to try alot of them if I can afford it. You sure make this project look so easy I’d love to try it. Thanks for sharing and good luck
Love that denim paper on the frame.
Thanks so much for the nice compliments! I love Plaid products. I was surprised to learn how many of the ones that I use regularly, are associated with Plaid. I also didn’t know that they make the surfaces that you can create on. The wood frames are so cute and you have so many options with them. Thanks again for stopping by!